In my previous post Compile and Build Hadoop 3.2.1 on Windows 10 Guide, I documented the steps to build Hadoop natively on a Windows 10 machine. The steps are quite completed and it can easily go wrong. This article summarizes the steps to build Hadoop on Windows 10 via Docker Desktop for Windows. Once the image is built, you can then use it to build different versions of Hadoop (as long as the prerequisites don't change). This article build the Hadoop trunk as at 11 Dec 2022.
Prerequisites
- Windows 10 Pro (my version is 10.0.19045 N/A Build 19045)
- Docker Desktop for Windows. I use dockerdand Docker CLI directly. The version I am using is v4.15.0.
- Git Bash exists in your Windows.
- At least 50GBof free storage (as we will use Windows base image and also install VS and many other tools).
warning Alert - The whole build process can take hours.
1. Ensure Windows containers
After you install Docker Desktop for Windows, make sure you switch to Windows container. Follow article How to Change Docker Data Root Path on Windows 10 if you don't know how to do that.
The main steps are:
Start
dockerd.exeprocess if not started automatically via Services.Run switch command to switch:
C:\Program Files\Docker\Docker\DockerCli.exe -SwitchDaemonVerify the results:
docker version
2. Clone Hadoop source code
Check out Hadoop source code (trunk branch) from GitHub via the following command in your Windows 10 machine (host machine):
cd C:\
git clone -c core.longpaths=true https://github.com/apache/hadoop.git
The above command clone Hadoop source code to C:/hadoop. If you use a different path, remember to change it accordingly.
3. - Run docker build command
Frist, change directory to C:/hadoop.
cd C:/hadoop
Run the following command to start build:
docker build -t hadoop-build-windows-10 -f .\dev-support\docker\Dockerfile_windows_10 .\dev-support\docker\
Wait until the build finishes. It can take hours.
4. Verify the built image
Once the build is completed, you can use the following command to verify:
docker image ls
You should be able find something like the following in the output:
docker image ls
REPOSITORY                  TAG        IMAGE ID       CREATED        SIZE
hadoop-build-windows-10     latest     d54c13837078   2 hours ago    28.1GB
As you can see the image size is big.
5. Build Hadoop
With the image built successfully, we can now start building Hadoop using the image.
5.1 Run a container using the image
We start a Docker container by using the following command:
docker run --rm -it hadoop-build-windows-10
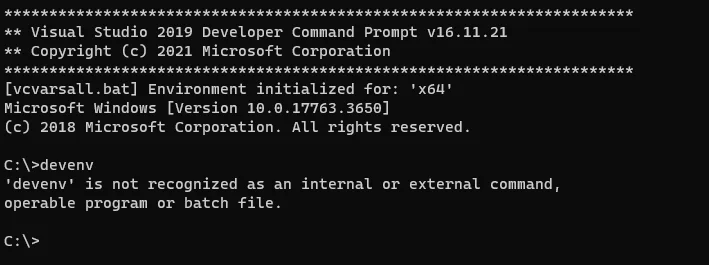
The output looks like the following screenshot:

If you want to use your Windows host machine's Maven repo local cache, you can start the container with the following command:
docker run --rm -v D:\Packages\mvn-repo:C:\Users\ContainerAdministrator\.m2\repository -it hadoop-build-windows-10
Note - D:\Packages\mvn-repo is the path of my local Maven repo. Please change it accordingly.
This can save time to download packages from Internet each time when you run the build.
5.2 Checkout source code
You can download the source code in the container command prompt (the entry is the Command Prompt):
git clone -c core.longpaths=true https://github.com/apache/hadoop.gi
5.3 'Fix' Maven blocked http repo issue
From Maven 3.8, Maven by default repositories that are not on HTTPS. We need temporarily fix this otherwise we will hit an error like the following:
[INFO] --- maven-assembly-plugin:2.4:single (package-yarn) @ hadoop-yarn-project ---Downloading from maven-default-http-blocker: http://0.0.0.0/org/apache/hadoop/hadoop-assemblies/3.4.0-SNAPSHOT/maven-metadata.xml[WARNING] Could not transfer metadata org.apache.hadoop:hadoop-assemblies:3.4.0-SNAPSHOT/maven-metadata.xml from/to maven-default-http-blocker (http://0.0.0.0/): transfer failed for http://0.0.0.0/org/apache/hadoop/hadoop-assemblies/3.4.0-SNAPSHOT/maven-metadata.xml[WARNING] org.apache.hadoop:hadoop-assemblies:3.4.0-SNAPSHOT/maven-metadata.xmlfailed to transfer from http://0.0.0.0/ duringa previous attempt. This failure was cached in the local repository and resolution will not be reattempted until the update interval of maven-default-http-blocker has elapsed or updates are forced. Original error: Could not transfer metadata org.apache.hadoop:hadoop-assemblies:3.4.0-SNAPSHOT/maven-metadata.xml from/to maven-default-http-blocker (http://0.0.0.0/): transfer failed for http://0.0.0.0/org/apache/hadoop/hadoop-assemblies/3.4.0-SNAPSHOT/maven-metadata.xml
Warning - There might be security issues to apply this fix. Please evaluate before you decide whether to go forward. For this tutorial purpose, I will just fix it for now.
Refer to page Maven 3.8.1 blocked mirror for internal repositories to find out a possible 'fix'.
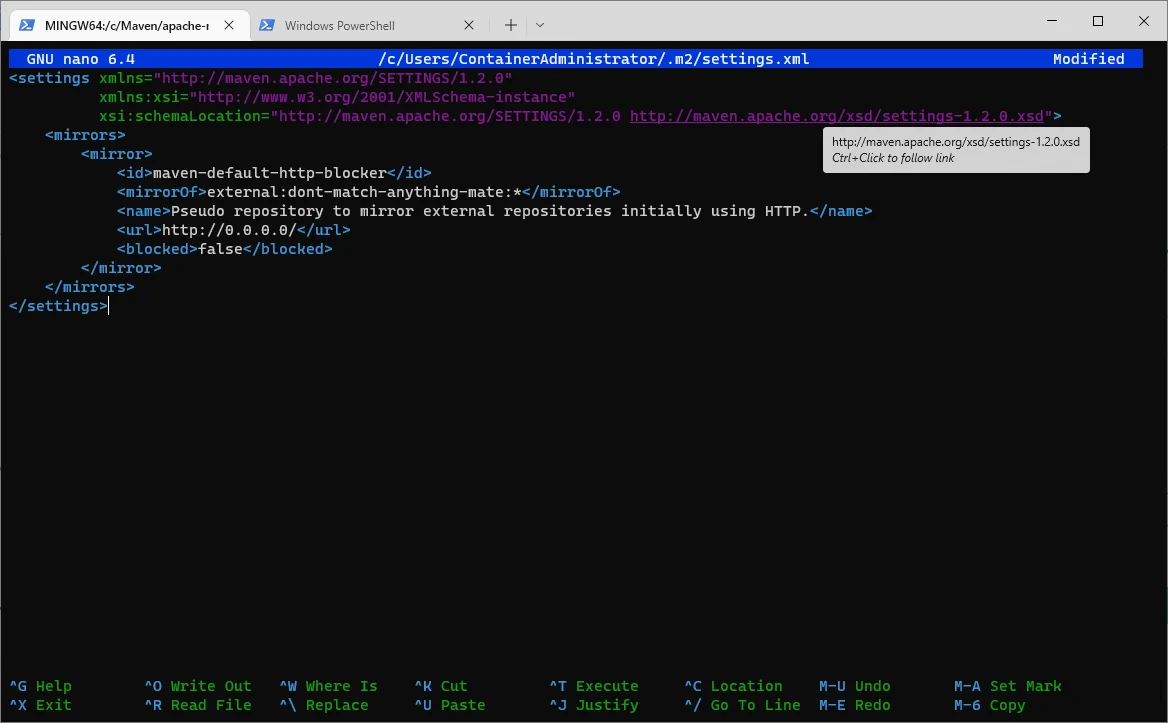
To make it work, type bash (or**C:\Git\bin\bash.exe)**in the container and then add a Maven configuration file:
touch ~/.m2/settings.xmlnano ~/.m2/settings.xml
Add the following content into this settings file:
<settings xmlns="http://maven.apache.org/SETTINGS/1.2.0" xmlns:xsi="http://www.w3.org/2001/XMLSchema-instance" xsi:schemaLocation="http://maven.apache.org/SETTINGS/1.2.0 http://maven.apache.org/xsd/settings-1.2.0.xsd"> <mirrors> <mirror> <id>maven-default-http-blocker</id> <mirrorOf>external:dont-match-anything-mate:*</mirrorOf> <name>Pseudo repository to mirror external repositories initially using HTTP.</name> <url>http://0.0.0.0/</url> <blocked>false</blocked> </mirror> </mirrors></settings>

Save the file (Ctrl + O) and then exit (Ctrl + X).
5.4 Build Hadoop
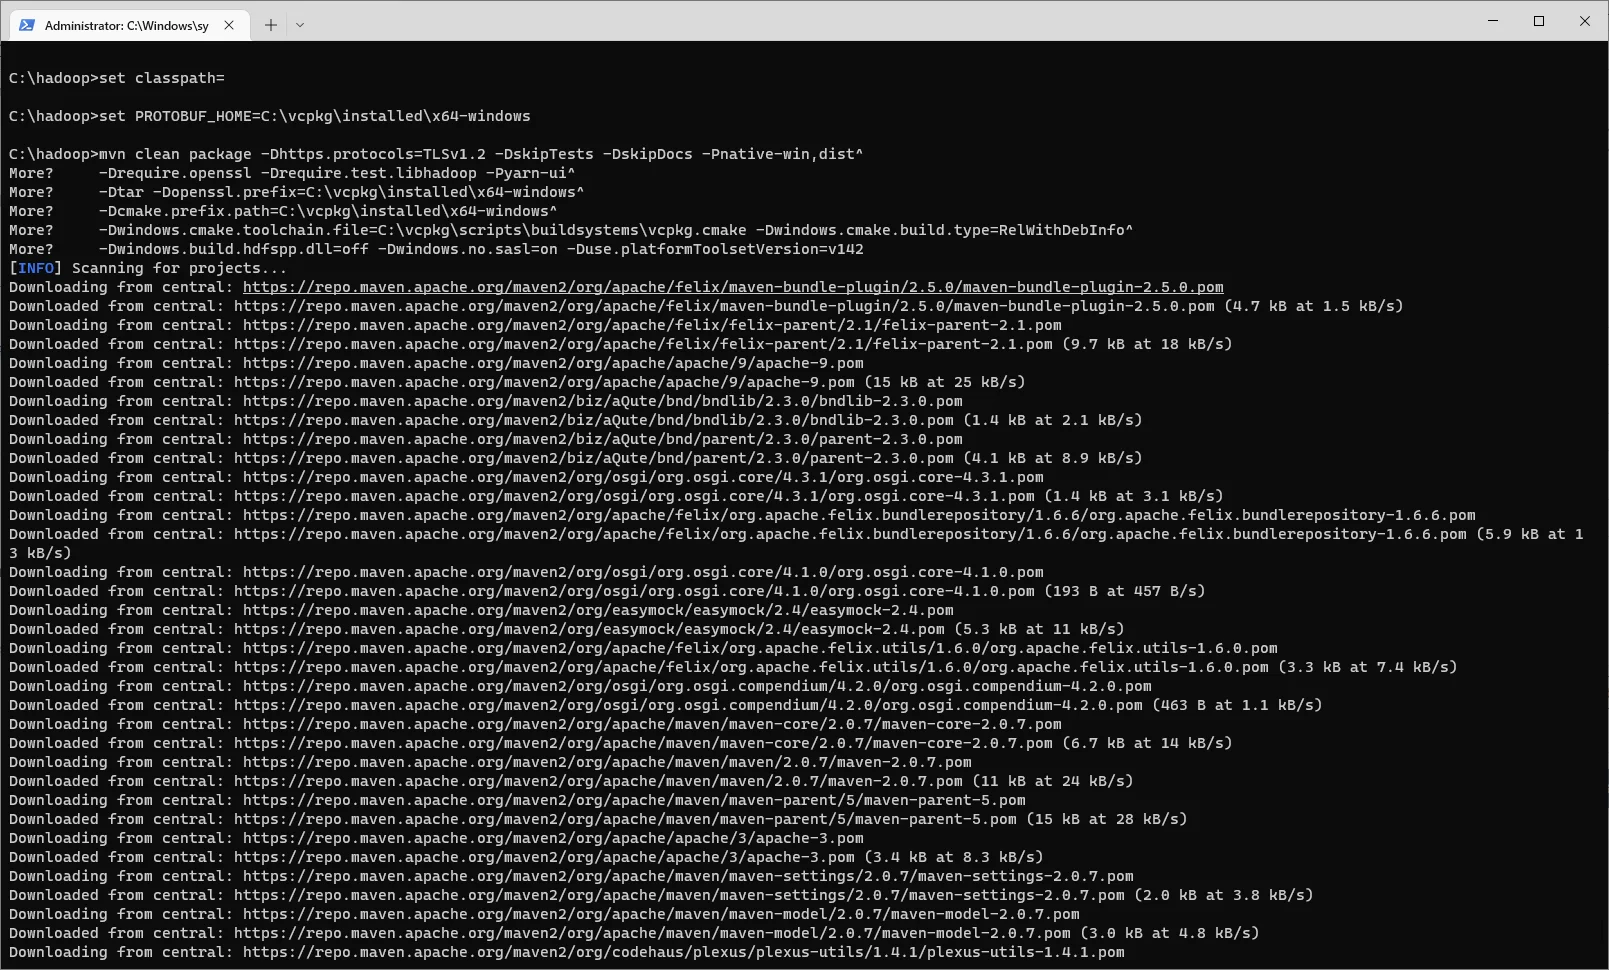
Change directory to the source code folder (C:\hadoop) and then run the following commands to build Hadoop:
cd C:\hadoop
set classpath=
set PROTOBUF_HOME=C:\vcpkg\installed\x64-windows
mvn clean package -Dhttps.protocols=TLSv1.2 -DskipTests -DskipDocs -Pnative-win,dist^
    -Drequire.openssl -Drequire.test.libhadoop -Pyarn-ui -Dshell-executable=C:\Git\bin\bash.exe^
    -Dtar -Dopenssl.prefix=C:\vcpkg\installed\x64-windows^
    -Dcmake.prefix.path=C:\vcpkg\installed\x64-windows^
    -Dwindows.cmake.toolchain.file=C:\vcpkg\scripts\buildsystems\vcpkg.cmake -Dwindows.cmake.build.type=RelWithDebInfo^
    -Dwindows.build.hdfspp.dll=off -Dwindows.no.sasl=on -Duse.platformToolsetVersion=v142
Wait until the build is completed:

It may take hours.
5.4 Verify the result
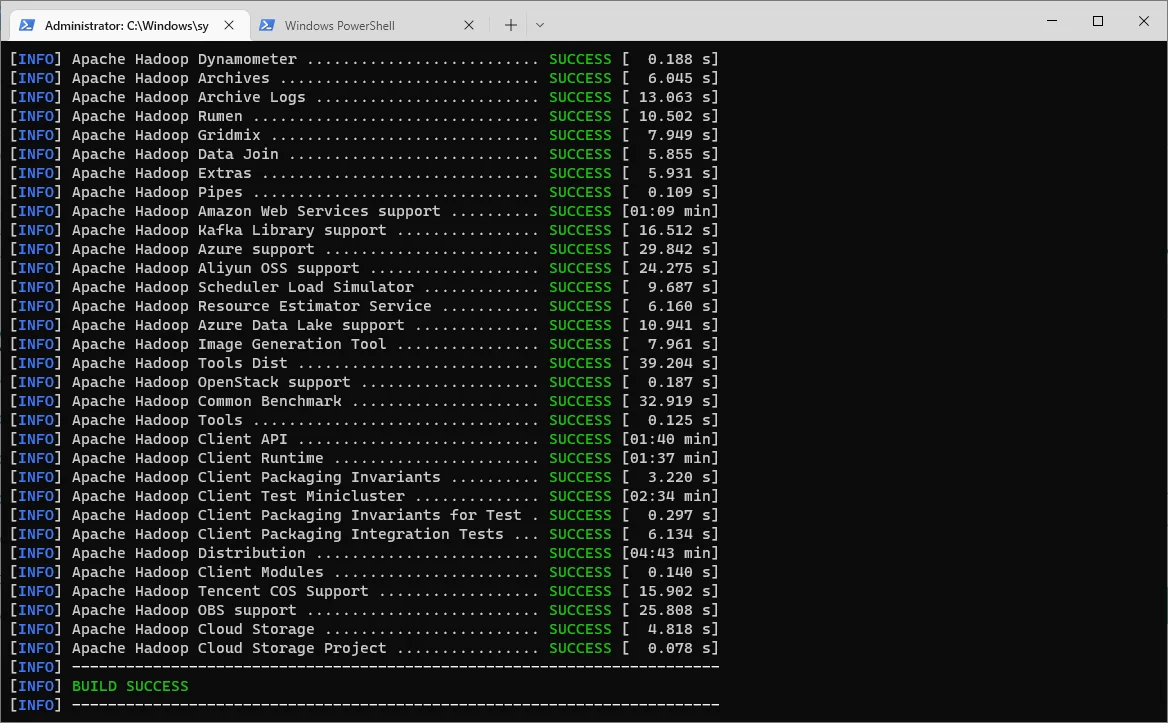
Once the build is completed, you should be able to see SUCCESS for all the modules as the following screenshot shows:

The binaries are published the following directory in the container:
C:/hadoop/hadoop-dist/target/
warning As we cannot use docker cp to copy these files from the container to host machine, you can upload the built binary to a website (like GitHub) and then download from there.
References
Install Visual Studio Build Tools into a container | Microsoft Learn
hadoop/dev-support at trunk · apache/hadoop (github.com)
hadoop/BUILDING.txt at trunk · apache/hadoop (github.com)
hadoop/win-vs-upgrade.cmd at trunk · apache/hadoop (github.com)
Use command-line parameters to install Visual Studio | Microsoft Learn