Case Scenario
In the previous articles of this serial, I’ve introduced how to use SQL Server as database for online transaction processing, build ETL packages for data integration and create reports. SSAS is another important feature supporting online analytical processing.
Finally, we are going to build a simple multidimensional database to support OLAP in Excel or other tools.
Create SSAS Project
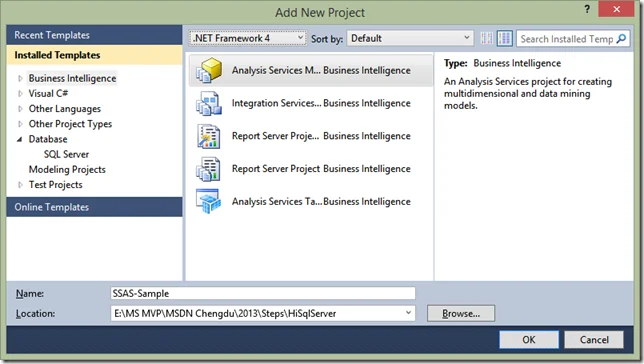
1) Create SSAS project ‘SSAS-Sample’
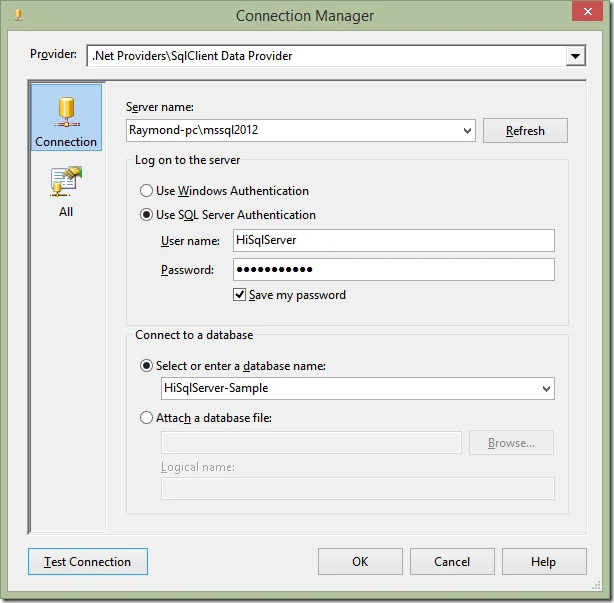
2) Create data source ‘HiSqlServer-Sample’
Connect to database using SQL Server authentication.
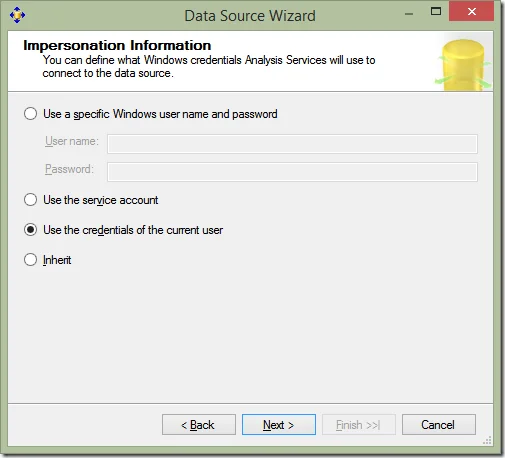
Use the credentials of the current user for Analysis Services to connect to the data source
Input the name as ‘HiSqlServer-Sample’ and then save.
3) Create data source view ‘SalesDSV’
Open the ‘New Data Source View’ dialogue and choose the data source we just created.

Name Matching: Same name as primary key.
Select Tables: Add all the three tables (Areas, Products, Sales).
Input the name as ‘SalesDSV’ and then save the dialogue.
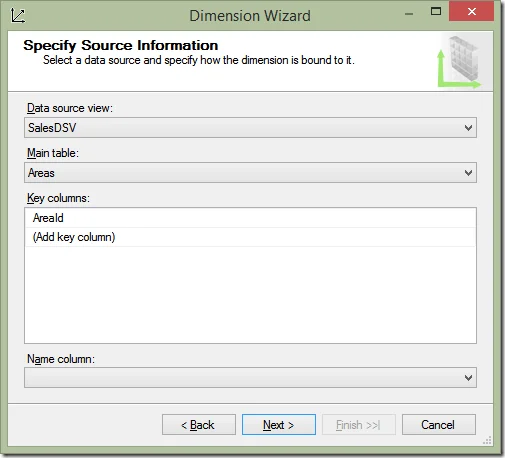
4)Create Dimension DimArea
Create dimension Areas by using Dimension Wizard.
Select Creation Method: Use an existing table.
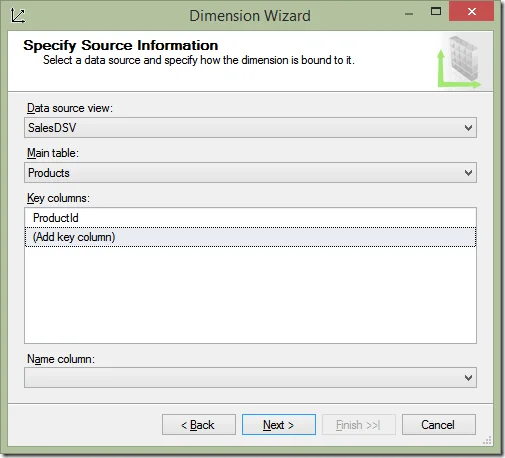
Specify Source Information:
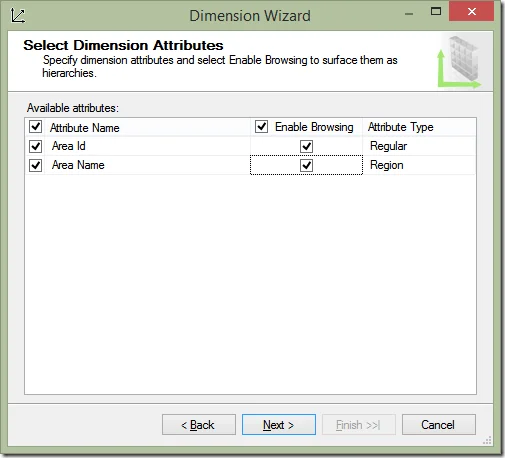
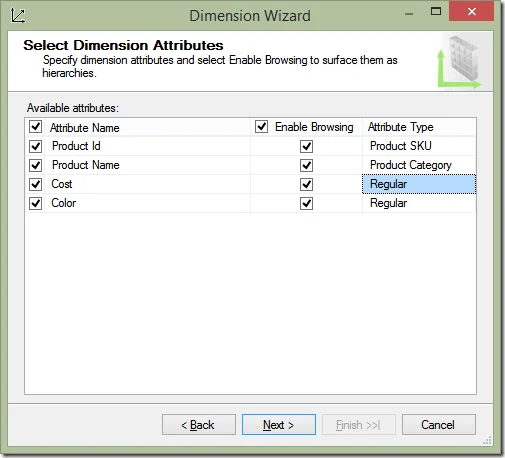
Select Dimension Attributes:
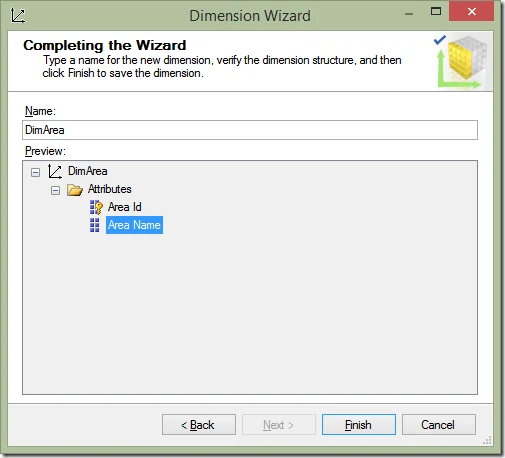
Completing the Wizard:
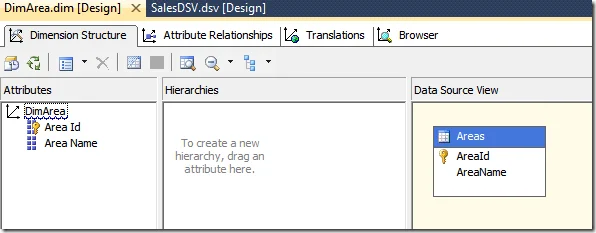
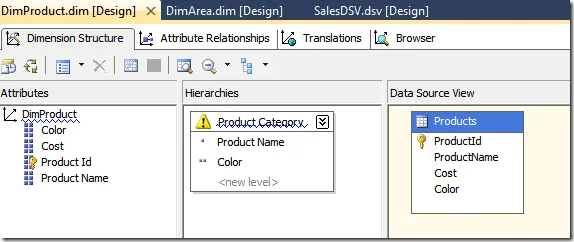
The dimension now looks like the following screenshot:
5) Create dimension DimProduct
Use same way to create another dimension Products.
Once the dimension is created, create a hierarchy named ‘Product Category’ using attributes Product Name and Color.
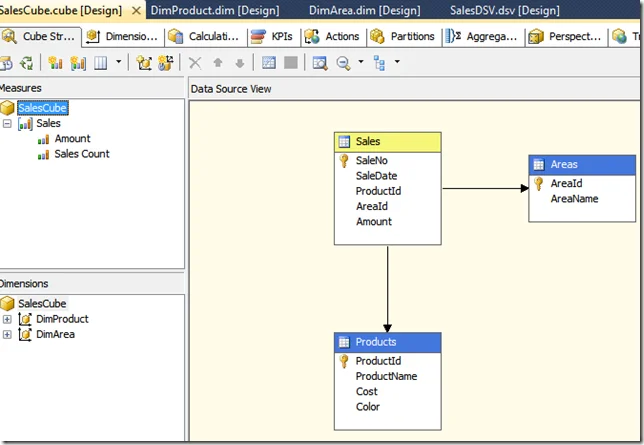
6) Create a cube SalesCube
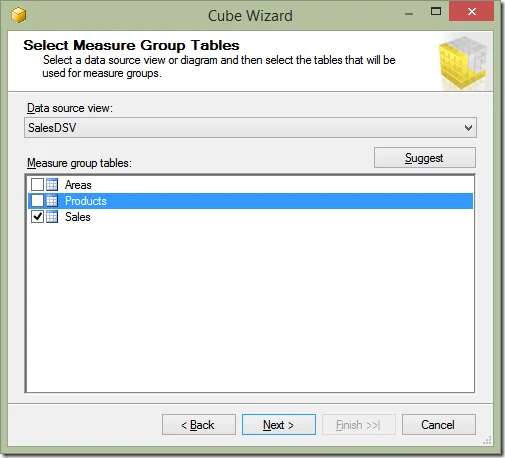
Create the cube by using Cube Wizard.
Select Creation Method: Use an existing table.
Select Measure Group Tables:
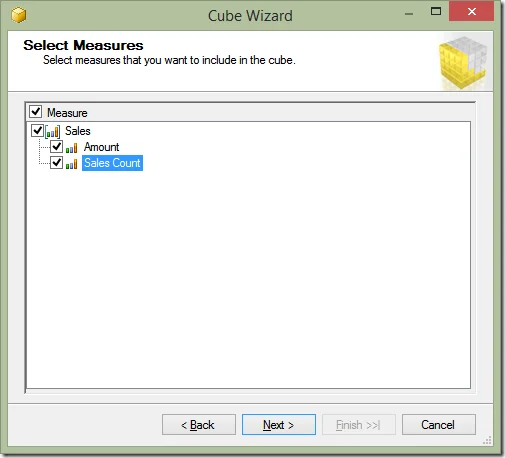
Select Measures:
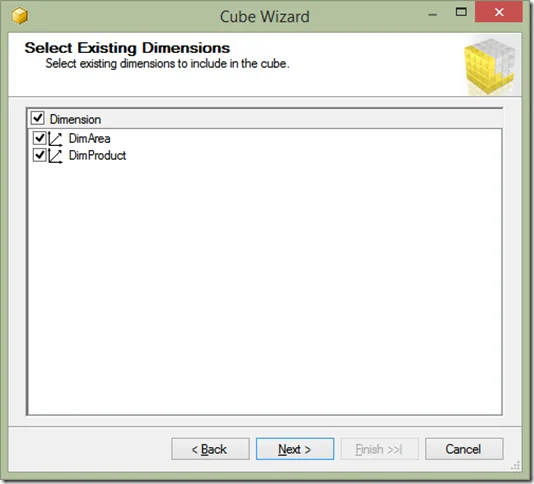
Select Existing Dimensions:
Input cube name as ‘SalesCube’ and save the dialogue.
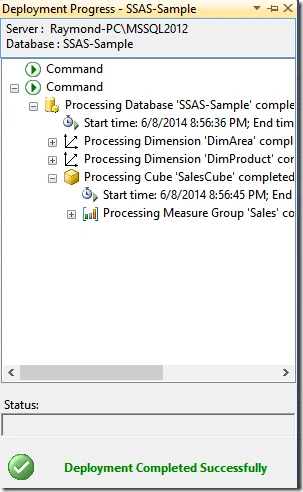
7) Deploy the project
Use the deployment function in Visual Studio to deploy the project.
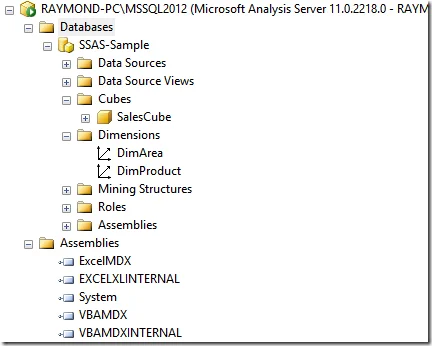
Once it is deployed, you can also query the multidimensional database through SSMS.
8) Browse the cube
In Visual Studio or SSMS, you can generate all kinds of reports by simply dragging measures and dimension attributes.

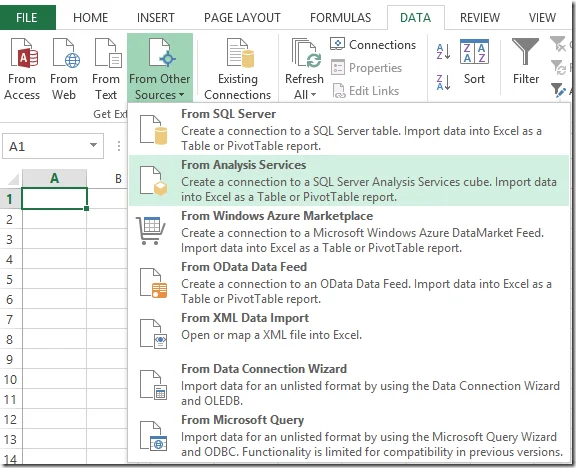
9) OLAP through Excel
Open Excel and create data source by using ‘From Analysis Services’.
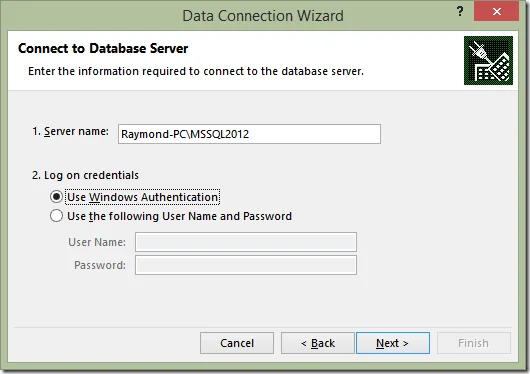
Input the credential:
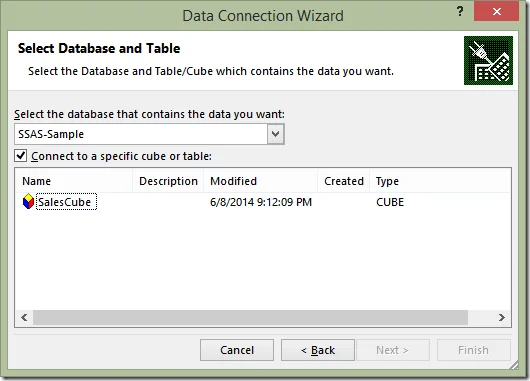
Choose the database and then cube.
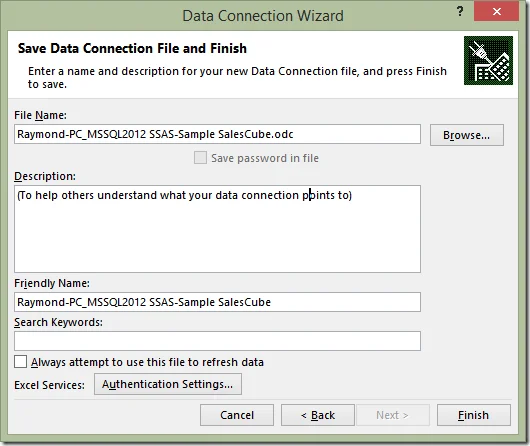
Save the connection file and finish.
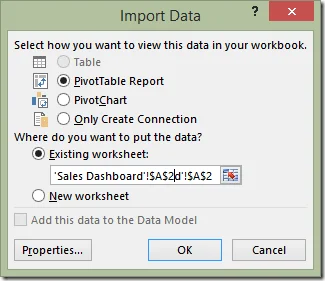
Import the data using PivotTable Report.
Now, you are able to do the data analysis through Excel very easily.