Azure Automation Account is provided for process automations. Once an automation account is created, you can use it to create runbooks. It currently support 5 runbook types: Graphical (PowerShell via Azure Portal), Graphical PowerShell Workflow (PowerShell Workflow via Azure Portal), PowerShell, PowerShell Workflow and Python.
Azure runbooks usages
Azure runbooks can be used for many different types of automation tasks, for example, start or stop Azure VMs, auto-scale of your Azure SQL Database based on schedule, send emails, backup or delete blobs, etc.
You can find many different templates from the gallery.
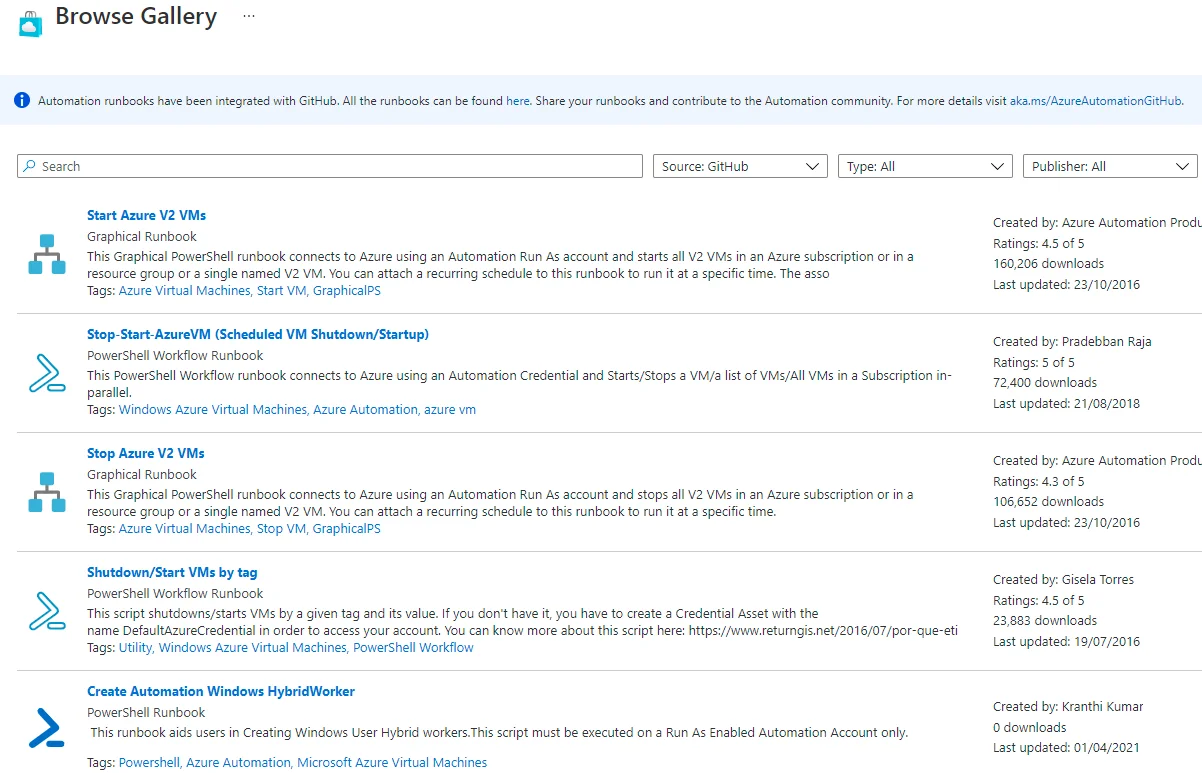
This article shows you a simple PowerShell textbook runbook that ping Kontext website every hour to give you a high-level idea about what you can do with Azure automation account.
Create an automation account
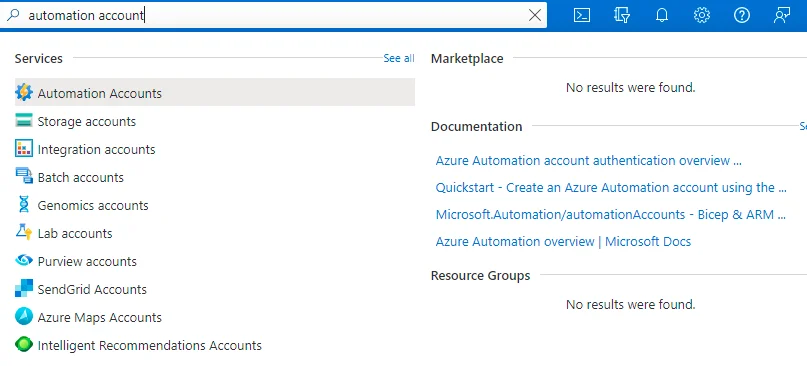
The first step is to create an automation account. In Azure Portal, search for Automation Accounts and then click '+ Create' button to create an account.
Create runbook
- Go to Process Automation section of the automation account blade
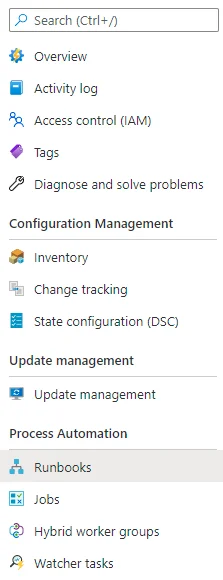
- Click Runbooks to view your existing runbooks or create a new runbook.
- Click button '+ Create a runbook'.
- Input the details.
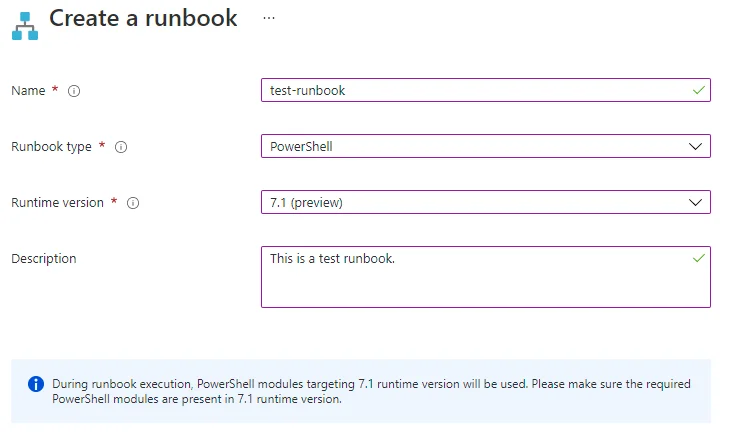
- Click button 'Create' to complete the creation of the runbook.
- In the editor, input the PowerShell scripts:

- Click button 'Test pane' to test.
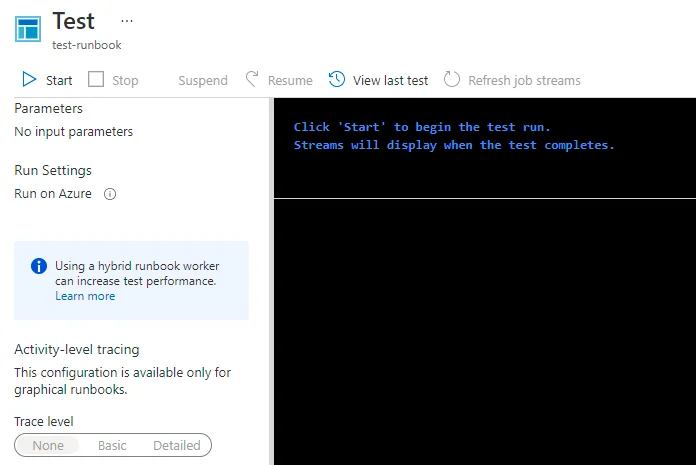
- Click button 'Start' to start the test.
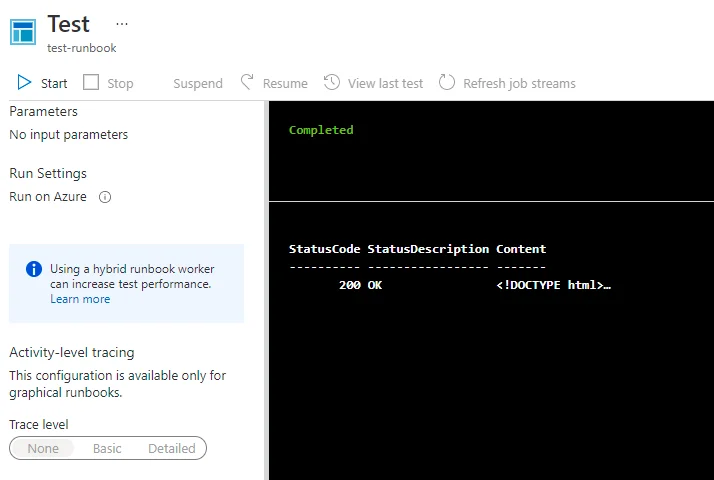
- Once the test is completed, the result will show as the following screenshot:
- Go back to the editor and then click button 'Publish' to publish the runbook.

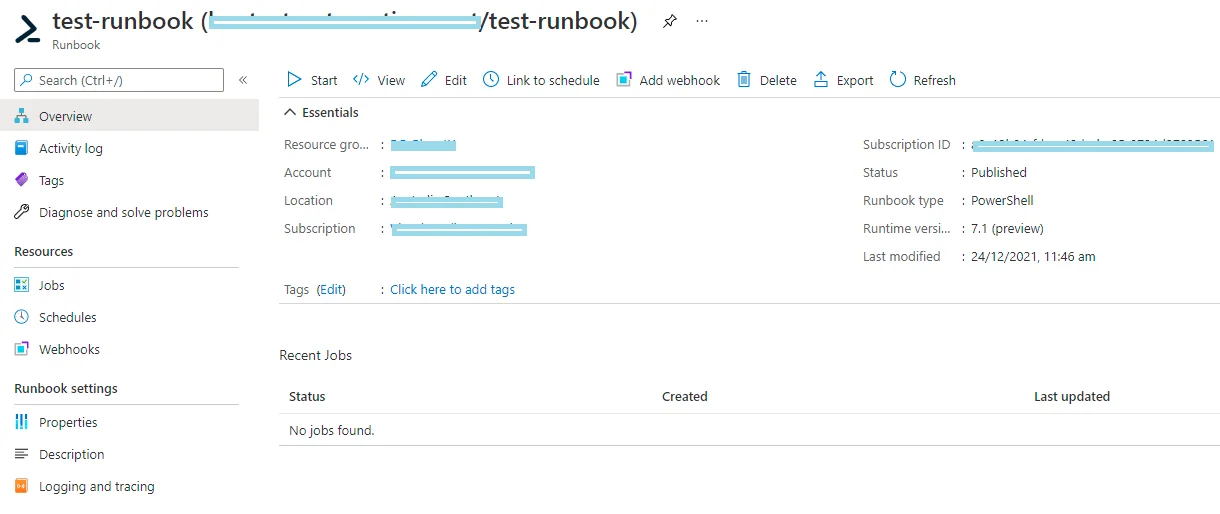
- Once it is published, you can run, edit or delete it from the runbook blade:
Create a scheduler
Once a runbook is created, you can create a scheduler for it.
- In the runbook blade, click Schedulesunder Resourcescategory:
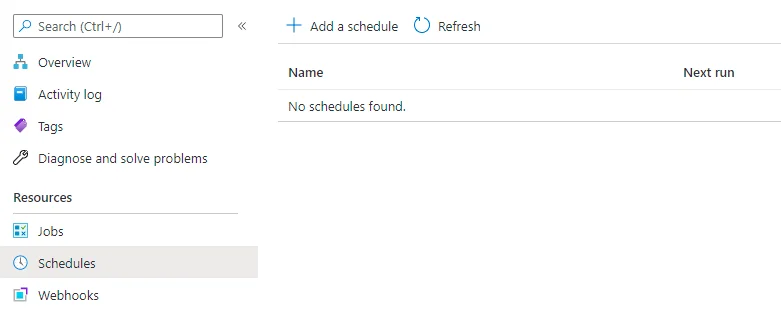
- Click button '+ Add a schedule'.
- Click 'Link a schedule to your runbook':
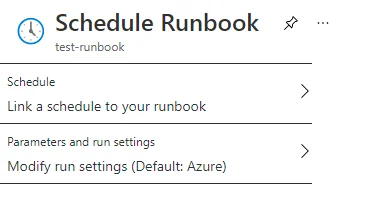
- Click a schedule or create a new one:

- Click button Ok to save the change.
- After the schedule is linked, you can see the next run timestamp based on the schedule settings:

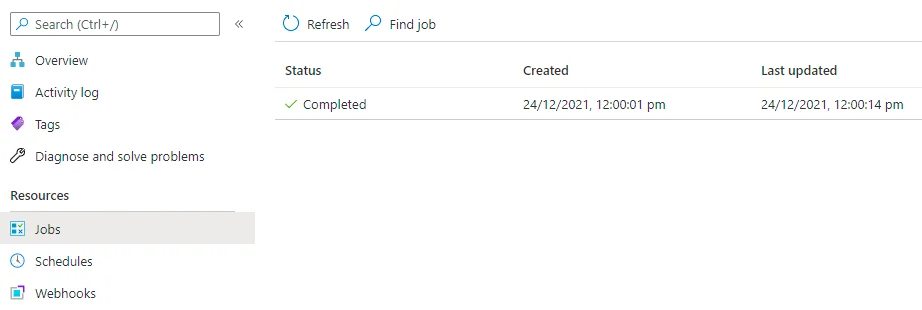
- Once the runbook is executed, you can find the history in the Jobssection:
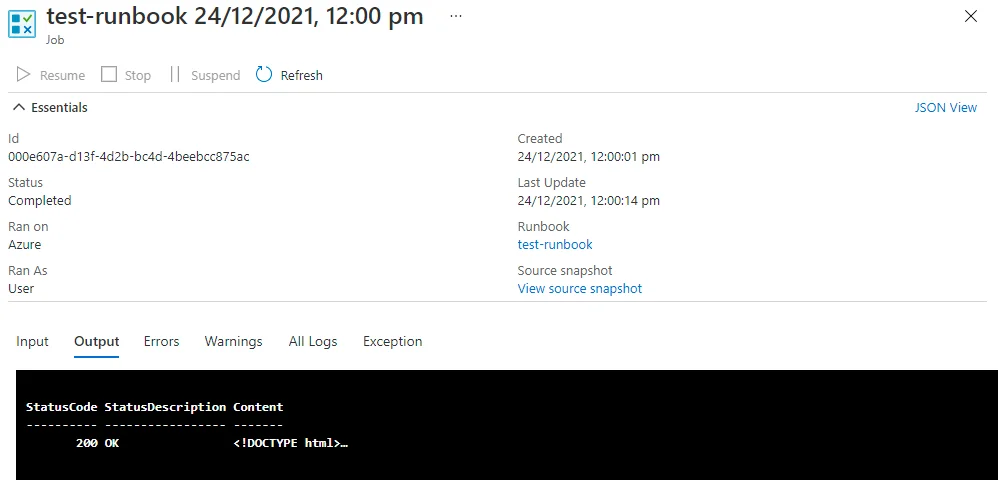
- Click one job, you will be able to see all the details including output and all other logs:
If you prefer Python, you can also use it to create runbooks. Enjoy process automation with Azure Automation Account!