Hadoop 3.3.2 was released on 3 Mar 2022. It incorporates a number of significant changes that can be found on the official release note.This article provides step-by-step guidance to install Hadoop 3.3.2 on Windows 10 via WSL (Windows Subsystem for Linux). These instructions are also be applied to Linux systems to install Hadoop. It should also work in your Windows 11 WSL.
warning As always, Kontext big data tutorials are provided for self-learning purpose. Hadoop and other related logos are trademarks of Apache Software Foundation.
Prerequisites
Follow the page below to enable WSL and then install one of the Linux systems from Microsoft Store.
Windows Subsystem for Linux Installation Guide for Windows 10
To be specific, enable WSL by running the following PowerShell code as Administrator (or enable it through Control Panel):
Enable-WindowsOptionalFeature -Online -FeatureName Microsoft-Windows-Subsystem-Linux
And then install Ubuntu or Debian or other Linux distro from Microsoft Store.


Once download is completed, click Launch button to lunch the application. It make take a few minutes to install.

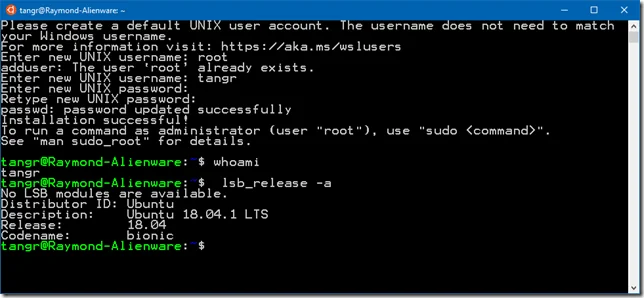
During the installation, you need to input a username and password. Once it is done, you are ready to use the WSL terminal.
wsl -d $Distro_Name
*Replace distro name accordingly. For example, running Debian distro using the following command:
wsl -d Debian
The following steps were tested in a Ubuntudistro.
Install Open JDK
Run the following command to update package index:
sudo apt update
Check whether Java is installed already:
java -versionCommand 'java' not found, but can be installed with:
sudo apt install default-jre
sudo apt install openjdk-11-jre-headless
sudo apt install openjdk-8-jre-headless
Install OpenJDK via the following command:
sudo apt-get install openjdk-8-jdk
Check the version installed:
openjdk version "1.8.0_212"
OpenJDK Runtime Environment (build 1.8.0_212-8u212-b03-0ubuntu1.18.04.1-b03)
OpenJDK 64-Bit Server VM (build 25.212-b03, mixed mode)
You can also use Java 11 from this version as it is now supported.
You can also follow Install Open JDK on WSL (app.kontext.tech) to install Open JDK.
Download Hadoop binary
Go to release page of Hadoop website to find a download URL for Hadoop 3.3.2:
For me, the closest mirror is:
https://dlcdn.apache.org/hadoop/common/hadoop-3.3.2/hadoop-3.3.2.tar.gz
Run the following command in Ubuntu terminal to download a binary from the internet:
wget https://dlcdn.apache.org/hadoop/common/hadoop-3.3.2/hadoop-3.3.2.tar.gz
Wait until the download is completed.
If you hit similar errors like the following:
ERROR: The certificate of ‘dlcdn.apache.org’ is not trusted. ERROR: The certificate of ‘dlcdn.apache.org’ has expired.
Install CA certifications by using the following command:
sudo apt-get install ca-certificates
You can also skip validating SSL certificate though it is risky and not recommended:
wget --no-check-certificate https://dlcdn.apache.org/hadoop/common/hadoop-3.3.2/hadoop-3.3.2.tar.gz
Unzip Hadoop binary
Run the following command to create a hadoopfolder under user home folder:
mkdir ~/hadoop
And then run the following command to unzip the binary package:
tar -xvzf hadoop-3.3.2.tar.gz -C ~/hadoop
Once it is unpacked, change the current directory to the Hadoop folder:
cd ~/hadoop/hadoop-3.3.2/
Configure passphraseless ssh
This step is critical and please make sure you follow the steps.
Make sure you can SSH to localhost in Ubuntu:
ssh localhost
If ssh doesn't exist, install it using the following command:
sudo apt install ssh
If you cannot ssh to localhost without a passphrase, run the following command to initialize your private and public keys:
ssh-keygen -t rsa -P '' -f ~/.ssh/id_rsa
cat ~/.ssh/id_rsa.pub >> ~/.ssh/authorized_keys
chmod 0600 ~/.ssh/authorized_keys
If you encounter errors like ‘ssh: connect to host localhost port 22: Connection refused’, run the following commands:
sudo apt-get install ssh# And then restart the service:sudo service ssh restart
If the above commands still don’t work, try the solution in this comment.
*The comment link will redirect you to another article for a different version of Hadoop installation.
Configure the pseudo-distributed mode (Single-node mode)
Now, we can follow the official guide to configure a single node:
- Setup environment variables (optional)
Setup environment variables by editing file ~/.bashrc.
vi ~/.bashrc
Add the following environment variables:
export JAVA_HOME=/usr/lib/jvm/java-1.8.0-openjdk-amd64
export HADOOP_HOME=~/hadoop/hadoop-3.3.2
export PATH=$PATH:$HADOOP_HOME/bin
export HADOOP_CONF_DIR=$HADOOP_HOME/etc/hadoop
Run the following command to source the latest variables:
source ~/.bashrc
- Edit etc/hadoop/hadoop-env.sh file:
vi etc/hadoop/hadoop-env.sh
Set a JAVA_HOME environment variable:
export JAVA_HOME=/usr/lib/jvm/java-8-openjdk-amd64
Remember to update the path to your JDK path accordingly.
- Edit etc/hadoop/core-site.xml:
vi etc/hadoop/core-site.xml
Add the following configuration:
<configuration>     <property>         <name>fs.defaultFS</name>         <value>hdfs://localhost:9000</value>     </property>
</configuration>
- Edit etc/hadoop/hdfs-site.xml:
vi etc/hadoop/hdfs-site.xml
Add the following configuration:
<configuration>     <property>         <name>dfs.replication</name>         <value>1</value>     </property>
     <property>         <name>dfs.namenode.name.dir</name>         <value>/home/tangr/hadoop/dfs/name332</value>     </property>     <property>         <name>dfs.datanode.data.dir</name>         <value>/home/tangr/hadoop/dfs/data332</value>     </property></configuration>
Remember to replace the highlighted user name accordingly. You can also change the paths to your own ones.
Make sure you also create these paths:
mkdir -p ~/hadoop/dfs/name332
mkdir -p ~/hadoop/dfs/data332
- Edit file etc/hadoop/mapred-site.xml:
vi etc/hadoop/mapred-site.xml
Add the following configuration:
<configuration>     <property>         <name>mapreduce.framework.name</name>         <value>yarn</value>     </property>     <property>         <name>mapreduce.application.classpath</name>         <value>$HADOOP_MAPRED_HOME/share/hadoop/mapreduce/*:$HADOOP_MAPRED_HOME/share/hadoop/mapreduce/lib/*</value>     </property>
</configuration>
- Edit file etc/hadoop/yarn-site.xml:
vi etc/hadoop/yarn-site.xml
Add the following configuration:
<configuration>
    <property>
        <name>yarn.nodemanager.aux-services</name>
        <value>mapreduce_shuffle</value>
    </property>
    <property>
        <name>yarn.nodemanager.env-whitelist</name>
        <value>JAVA_HOME,HADOOP_COMMON_HOME,HADOOP_HDFS_HOME,HADOOP_CONF_DIR,CLASSPATH_PREPEND_DISTCACHE,HADOOP_YARN_HOME,HADOOP_MAPRED_HOME</value>
    </property>
</configuration>
Format namenode
Run the following command to format the name node:
bin/hdfs namenode -format
Run DFS daemons
- Run the following commands to start NameNode and DataNode daemons:
tangr@raymond-pc:~/hadoop/hadoop-3.3.2$ sbin/start-dfs.sh
Starting namenodes on [localhost]
Starting datanodes
Starting secondary namenodes [raymond-pc]
- Check status via jpscommand:
tangr@raymond-pc:~/hadoop/hadoop-3.3.2$ jps
4693 SecondaryNameNode
4837 Jps
4217 NameNode
4431 DataNode
When the services are initiated successfully, you should be able to see these four processes.
- View name node portal
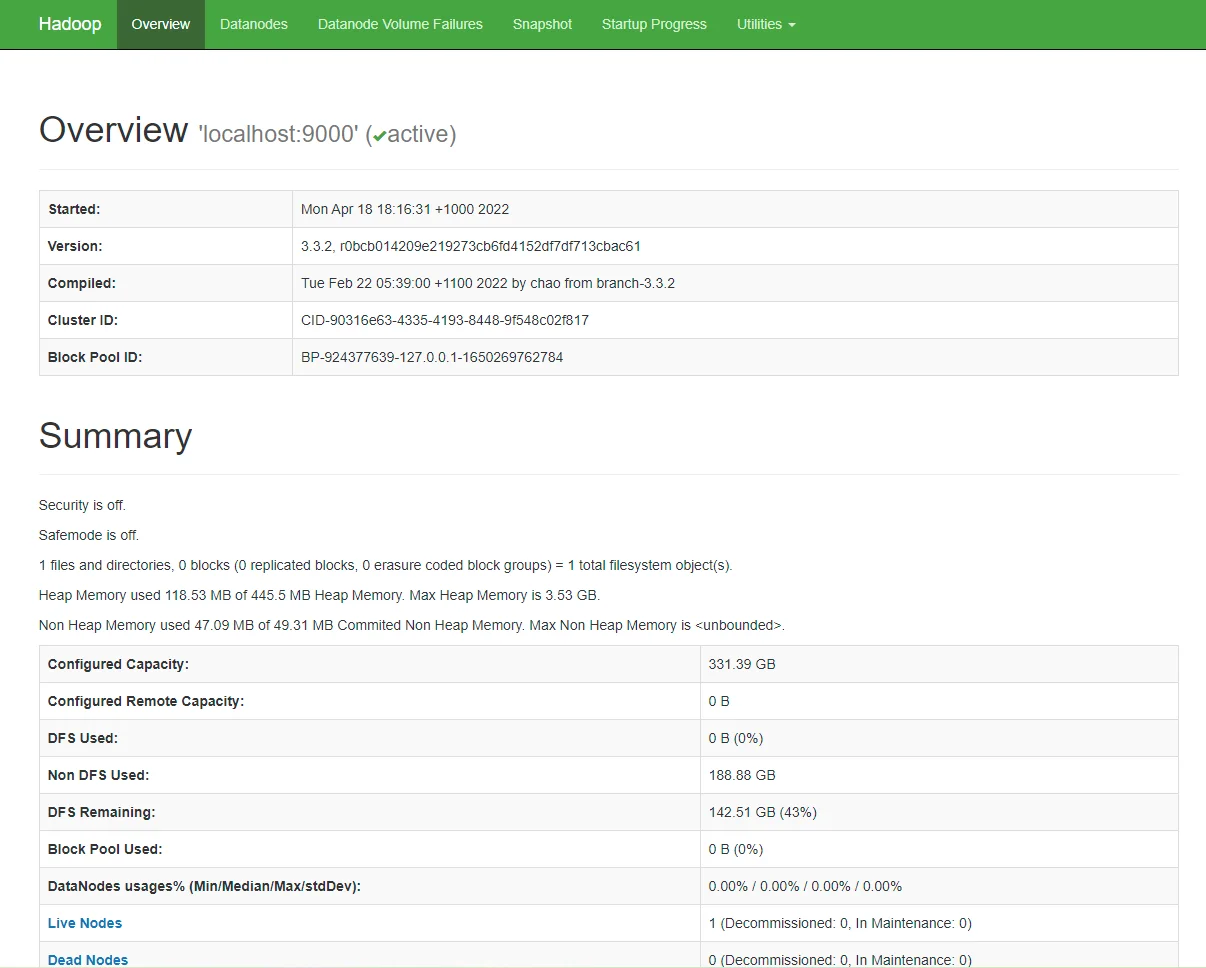
You can view the name node through the following URL:
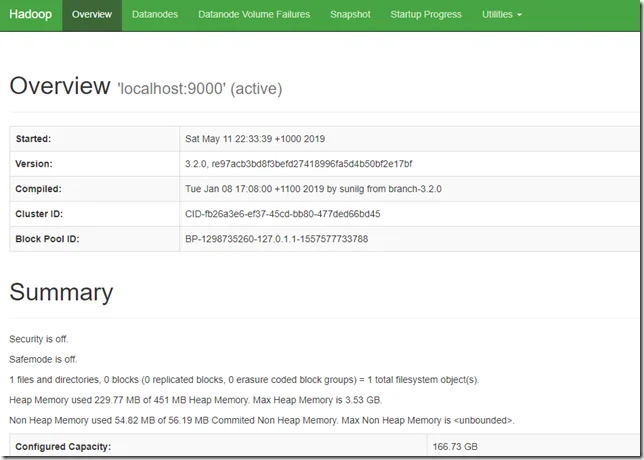
The web UI looks like the following:
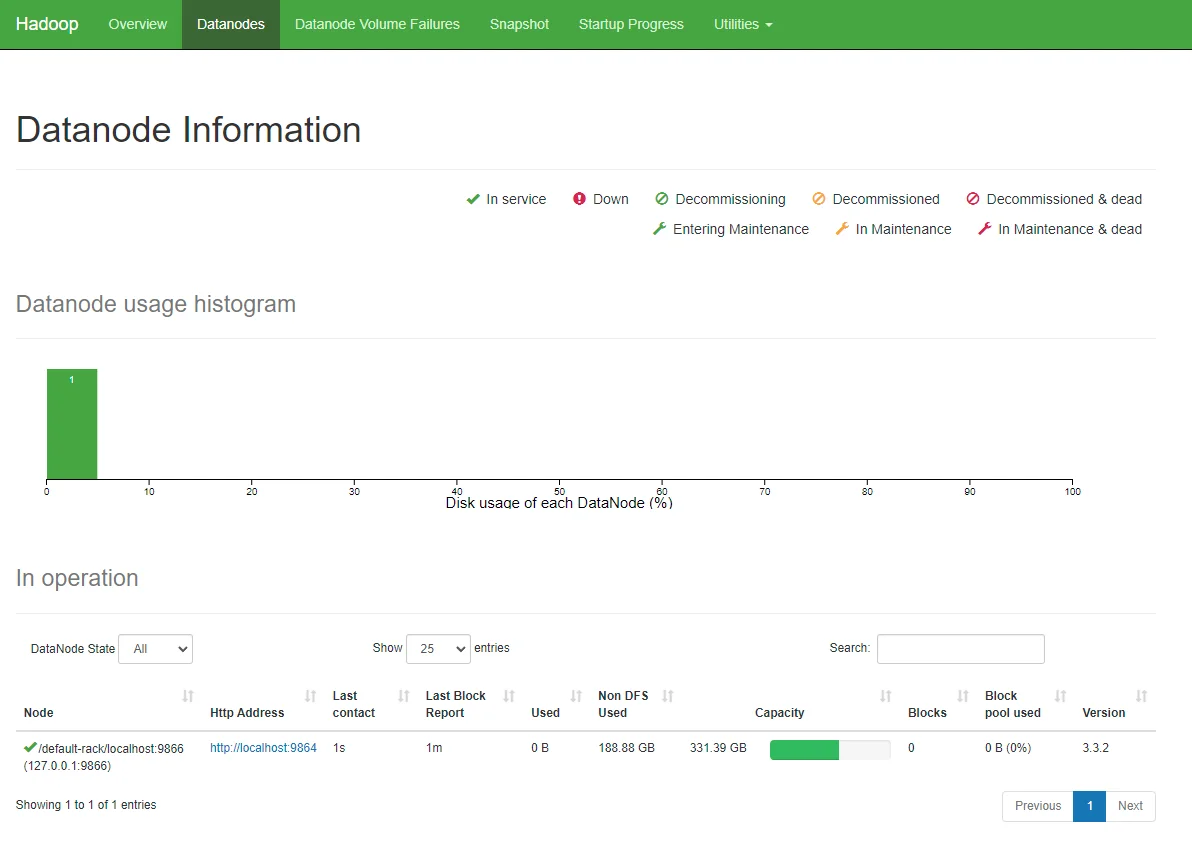
You can also view the data nodes information through menu link Datanodes:
Run YARN daemon
- Run the following command to start YARN daemon:
sbin/start-yarn.sh
~/hadoop/hadoop-3.3.2$ sbin/start-yarn.sh
Starting resourcemanager
Starting nodemanagers
- Check status via jpscommand
tangr@raymond-pc:~/hadoop/hadoop-3.3.2$ jps
5345 NodeManager
4693 SecondaryNameNode
4217 NameNode
5533 Jps
4431 DataNode
4975 ResourceManager
Once the services are started, you can see two more processes for NodeManagerand ResourceManager.
- View YARN web portal
You can view the YARN resource manager web UI through the following URL:
The web UI looks like the following screenshot:

You can view all the applications through this web portal.
Shutdown services
Once you've completed explorations, you can use the following command to shutdown those daemons:
sbin/stop-yarn.sh
sbin/stop-dfs.sh
You can verify through jps command which will only show one process now:
tangr@raymond-pc:~/hadoop/hadoop-3.3.2$ jps
6543 Jps
Summary
Congratulations! Now you have successfully installed a single node Hadoop 3.3.2 cluster in your Ubuntu subsystem of Windows 10 or Windows 11. It’s relatively easier compared with native Windows installation as we don’t need to download or build native Hadoop HDFS libraries.
Have fun with Hadoop 3.3.2.
If you encounter any issues, please post a comment and I will try my best to help.