This article provides step by step guide to install the latest version of Apache Spark 3.2.1 on a UNIX alike system (Linux) or Windows Subsystem for Linux (WSL 1 or 2). These instructions can be applied to Ubuntu, Debian, Red Hat, OpenSUSE, etc.
Prerequisites
Windows Subsystem for Linux (WSL)
If you are planning to configure Spark 3.2.1 on WSL, follow this guide to setup WSL in your Windows 10 or Windows 11 machine:
Install Windows Subsystem for Linux on a Non-System Drive
Hadoop 3.3.\*
This article will use Spark package without pre-built Hadoop. Thus we need to ensure a Hadoop environment is setup first.
If you choose to download Spark package with pre-built Hadoop, Hadoop 3.3.* configuration is not required.
Follow one of the following articles to install Hadoop 3.3.2 on your UNIX-alike system:
- Install Hadoop 3.3.0 on Linux
- Install Hadoop 3.3.2 in WSL on Windows (follow this page if you are planning to install it on WSL)
OpenJDK 1.8
Java JDK 1.8 needs to be available in your system.
In the Hadoop installation articles, it includes the steps to install OpenJDK.
Run the following command to verify Java environment:
$ java -version
openjdk version "1.8.0_212"
OpenJDK Runtime Environment (build 1.8.0_212-8u212-b03-0ubuntu1.18.04.1-b03)
OpenJDK 64-Bit Server VM (build 25.212-b03, mixed mode)
Now let’s start to configure Apache Spark 3.2.1 in a UNIX-alike system.
Download binary package
Visit Downloads page on Spark website to find the download URL.

/project/spark/resources/8C09E4E3-11ED-5C99-BC1B-0CC4C24AA15D.webp
For me, the closest location is: https://dlcdn.apache.org/spark/spark-3.2.1/spark-3.2.1-bin-hadoop3.2.tgz.
Download the binary package using the following command (remember to replace the URL with your closest download site):
wget https://dlcdn.apache.org/spark/spark-3.2.1/spark-3.2.1-bin-hadoop3.2.tgz
Wait until the download is completed.
Unpack the binary package
Unpack the package using the following command:
mkdir ~/hadoop/spark-3.2.1
tar -xvzf spark-3.2.1-bin-hadoop3.2.tgz -C ~/hadoop/spark-3.2.1 --strip 1
The Spark binaries are unzipped to folder ~/hadoop/spark-3.2.1.
Setup environment variables
Setup SPARK_HOME environment variables and also add the bin subfolder into PATH variable. We also need to configure Spark environment variable SPARK_DIST_CLASSPATH to use Hadoop Java class path.
Run the following command to change .bashrc file:
vi ~/.bashrc
Add the following lines to the end of the file:
export SPARK_HOME=~/hadoop/spark-3.2.1                                export PATH=$SPARK_HOME/bin:$PATH
# Configure Spark to use Hadoop classpath
export SPARK_DIST_CLASSPATH=$(hadoop classpath)# Source the modified file to make it effective:source  ~/.bashrc
If you also have Hive installed, change SPARK_DIST_CLASSPATH to:
export SPARK_DIST_CLASSPATH=$(hadoop classpath):$HIVE_HOME/lib/*
Setup Spark default configurations
Run the following command to create a Spark default config file:
cp $SPARK_HOME/conf/spark-defaults.conf.template $SPARK_HOME/conf/spark-defaults.conf
Edit the file to add some configurations use the following commands:
vi $SPARK_HOME/conf/spark-defaults.conf

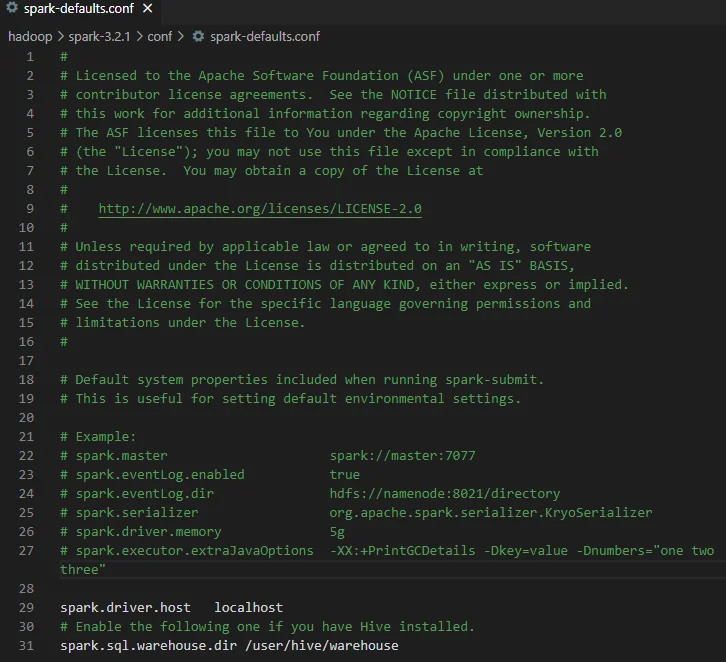
Make sure you add the following line:
spark.driver.host	localhost
# Enable the following one if you have Hive installed.
# spark.sql.warehouse.dir /user/hive/warehouse
There are many other configurations you can do. Please configure them as necessary.
spark.eventLog.dir and spark.history.fs.logDirectory
These two configurations can be the same or different. The first configuration is used to write event logs when Spark application runs while the second directory is used by the historical server to read event logs.
Now let's do some verifications to ensure it is working.
Run Spark interactive shell
Run the following command to start Spark shell:
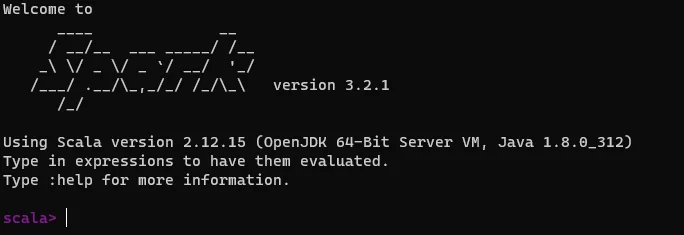
spark-shell
The interface looks like the following screenshot:

/project/spark/resources/08DDAC77-AEF1-54EE-8269-A8BCC98B58DA.webp
By default, Spark master is set as local[*] in the shell.
Run command :quit to exit Spark shell.
Run with built-in examples
Run Spark Pi example via the following command:
run-example SparkPi 10
The output looks like the following:
...
Pi is roughly 3.1413231413231415
...
In this website, I’ve provided many Spark examples. You can practice following those guides.
Spark context Web UI
When a Spark session is running, you can view the details through UI portal. As printed out in the interactive session window, Spark context Web UI available at http://localhost:4040. The URL is based on the Spark default configurations. The port number can change if the default port is used. Refer to Fix - ERROR SparkUI: Failed to bind SparkUI for more details.
Enable Hive support
If you’ve configured Hive in WSL, follow the steps below to enable Hive support in Spark.
Copy the Hadoop core-site.xml and hdfs-site.xml and Hive hive-site.xml configuration files into Spark configuration folder:
cp $HADOOP_HOME/etc/hadoop/core-site.xml $SPARK_HOME/conf/cp $HADOOP_HOME/etc/hadoop/hdfs-site.xml $SPARK_HOME/conf/cp $HIVE_HOME/conf/hive-site.xml $SPARK_HOME/conf/
And then you can run Spark with Hive support (enableHiveSupport function):
from pyspark.sql import SparkSessionappName = "PySpark Hive Example"
master = "local[*]"
spark = SparkSession.builder \             .appName(appName) \             .master(master) \             .enableHiveSupport() \             .getOrCreate()# Read data using Spark
df = spark.sql("show databases")
df.show()
spark-sql CLI
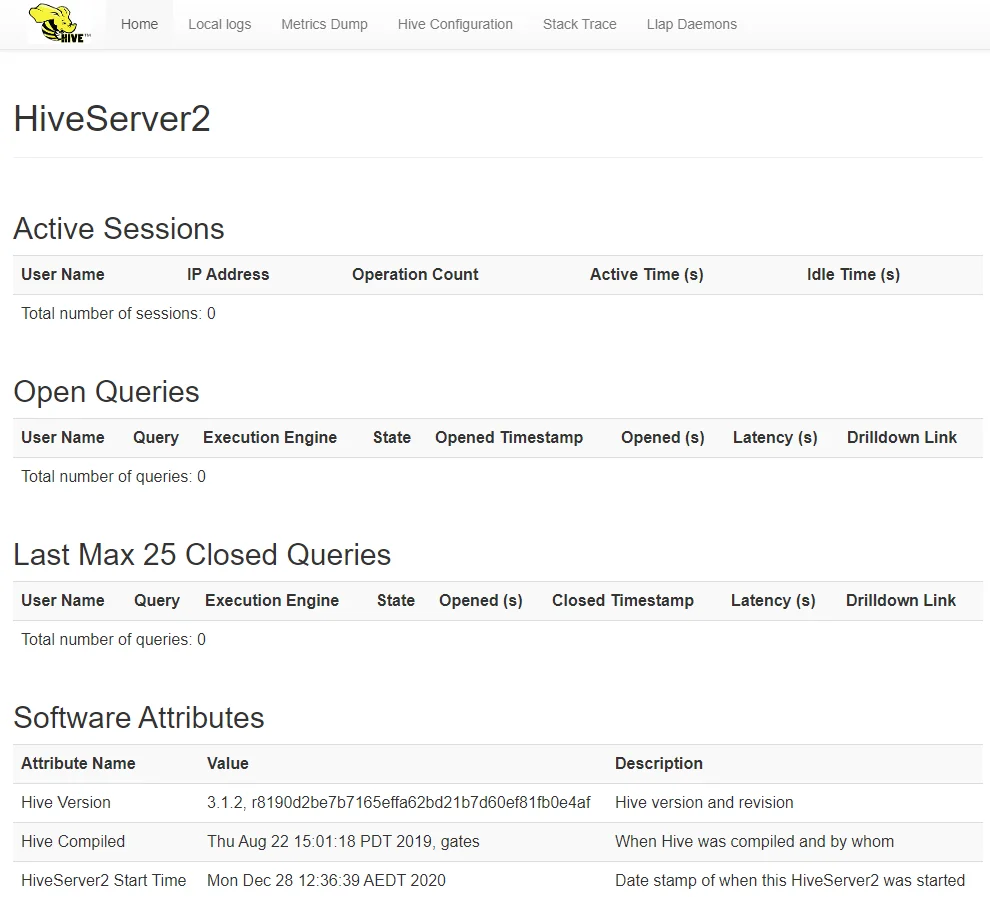
Make sure HiveServer2 service is running before starting this command. You should be able to see HiveServer2 web portal if the service is up. Refer to Apache Hive 3.1.2 Installation on Linux Guide for more details about Hive installation on WSL.

Spark SQL CLI looks like the following:

infoYou can directly use hive or beeline CLI to interact with Hive databases instead of using spark-sql CLI.
Spark history server
Run the following command to start Spark history server:
$SPARK_HOME/sbin/start-history-server.sh
Open the history server UI (by default: http://localhost:18080/) in browser, you should be able to view all the jobs submitted. The UI looks like the following screenshot:

check Congratulations! You have successfully configured Spark in your UNIX-alike system. Have fun with Spark 3.2.1.