In this article, I am going to demonstrate the steps required to create a Linux VM in the new Azure management portal and also the ways to connect to the server from WinSCP or Putty.
Login to Azure Portal
Login to https://portal.azure.com/# using your Microsoft account.
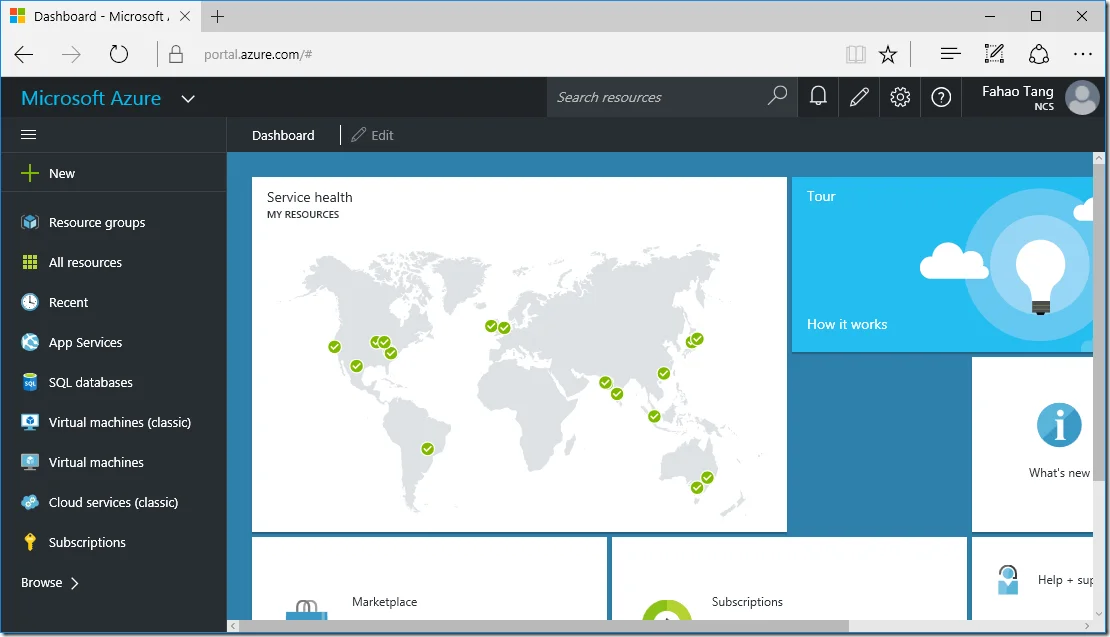
The portal looks very similar to your Windows 10 UI.
Create a Ubuntu Virtual Machine
Follow the steps below to complete the creations steps.
- Click ‘+New’ button in the navigation bar to start creating.
- Select Compute group.
- In the Featured Apps list, select Ubuntu Server 14.04 LTS
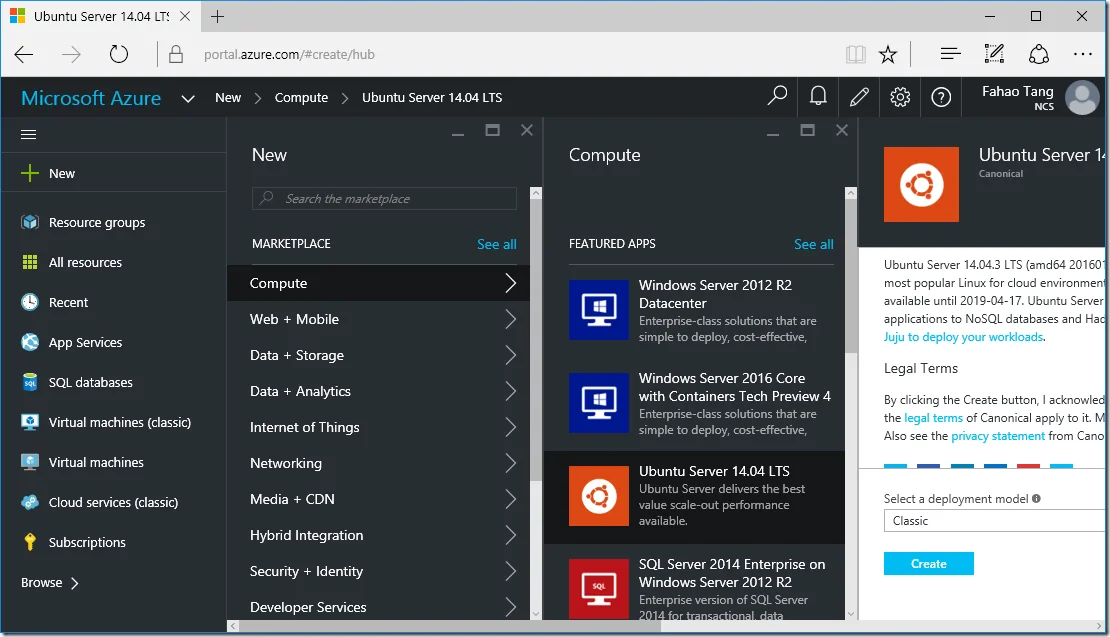
- Select Classic as deployment model.
- Click Create button.
- Input Host Name, User Name, Authentication Type (I am using password for this demo)
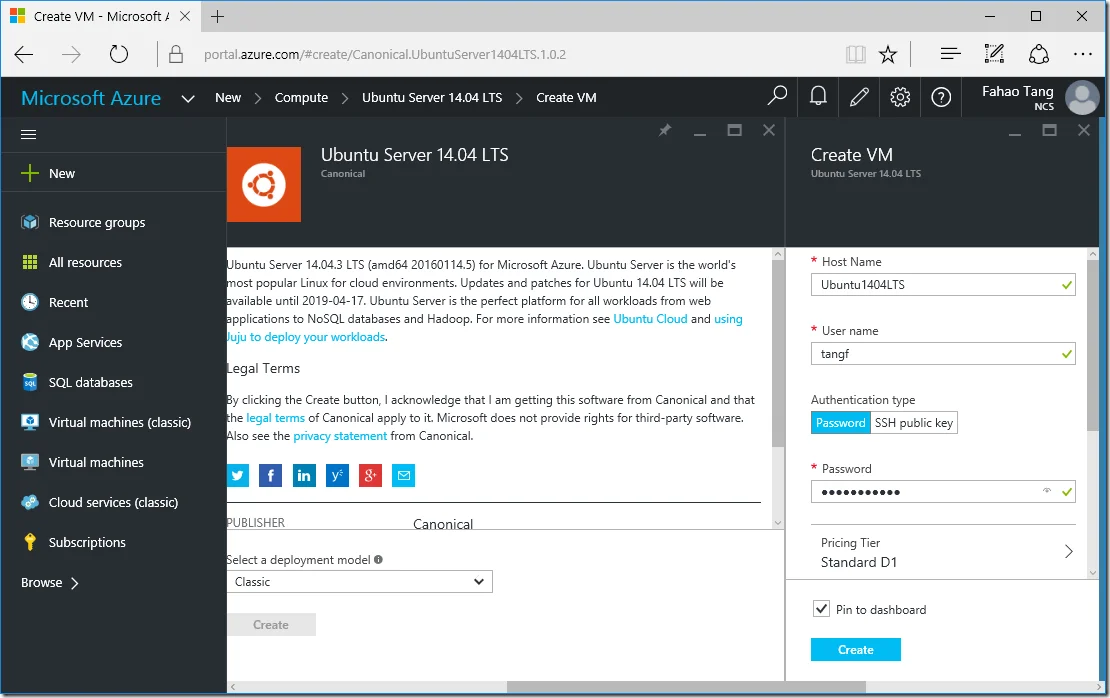
- You can also configure the other settings, i.e. Pricing Tier, Network, Storage, Diagnostics, Resource Group and Location.
- Click ‘Create’ button to finish.
In the management portal home screen, you will be able to find the tile of the virtual machine. In the following screen, the machine is still being created.

Navigating through menu ‘Virtual machines (classic)’, you will find the server in the list as well.
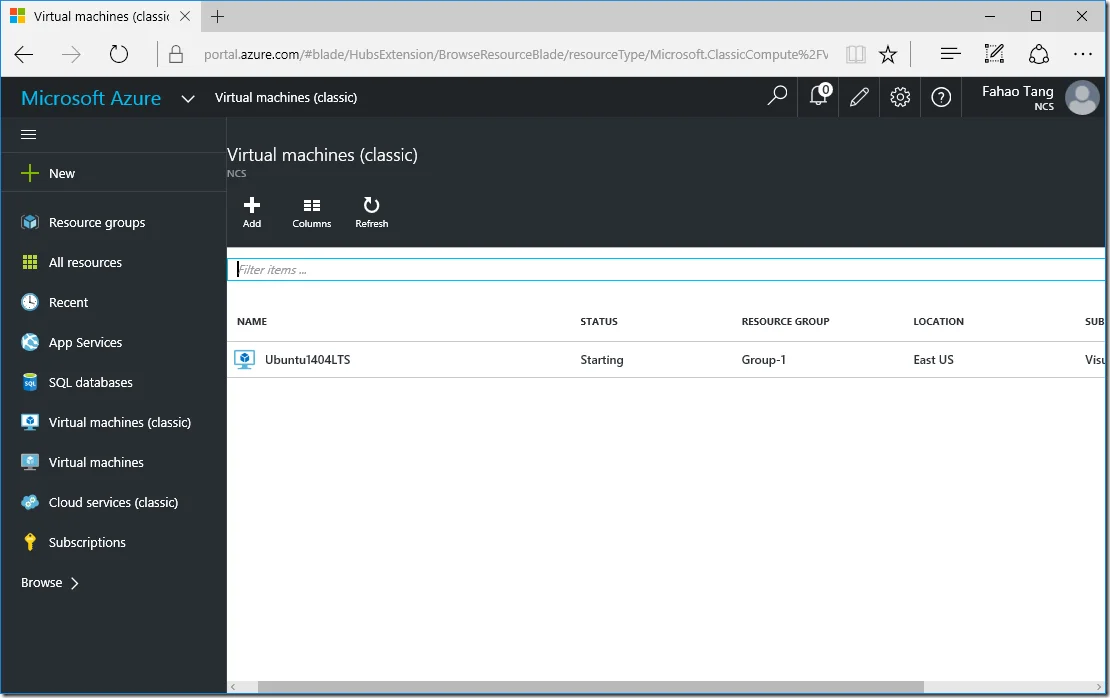
Once the status changes to Running, you can click the item to do more configurations.
Configure SSH Endpoint
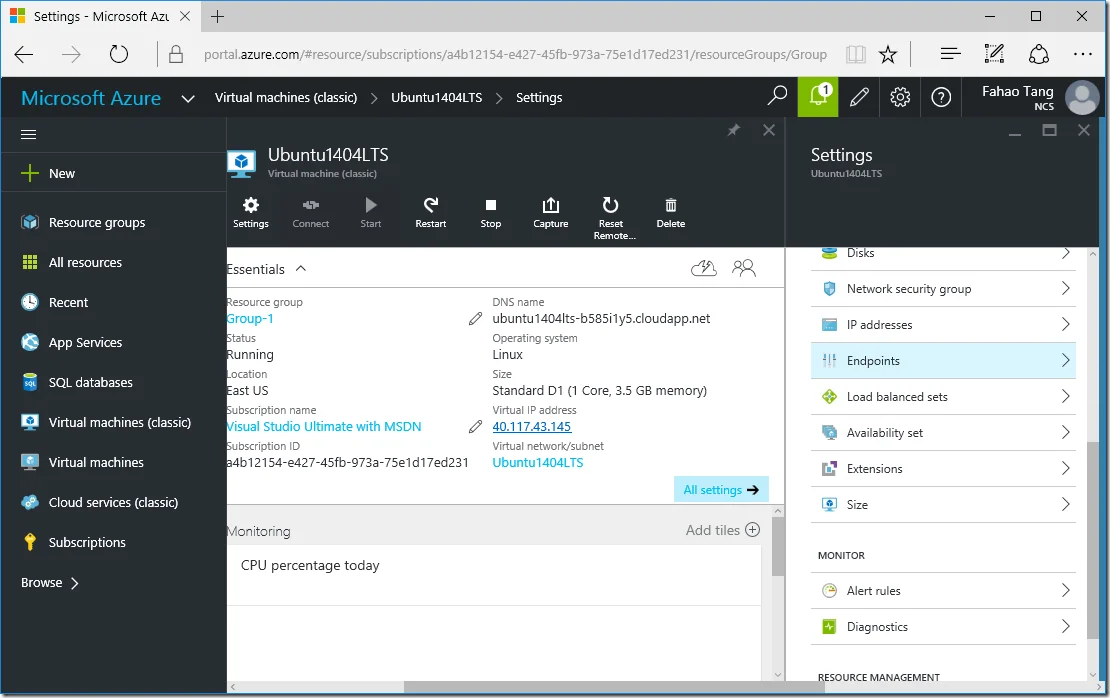
In the details page of the virtual machine, it will give you all the details about the virtual machine you created.
The DNS name for the one I create is ubuntu1404lts-b585i1y5.cloudapp.net. You can change the DNS name as well.
You can configure endpoints through the menu item ‘Endpoints’ in Settings panel.
In the Endpoints page, the SSH is pre-created already in my sample as you can see from the following screenshot:
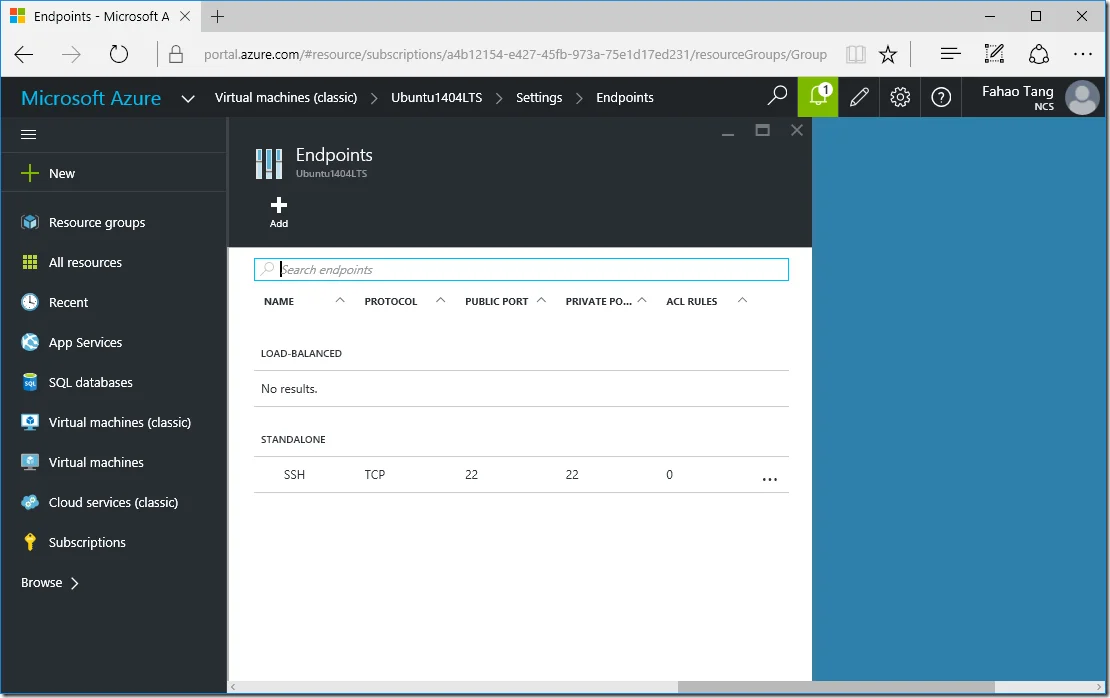
In this page, you can configure more endpoints, for example, TCP:80 for your website.
Click the existing SSH item to change the settings, I.e. port number, access control list and so forth.
Connect to the Server through WinSCP
In WinSCP, you can configure a new site using the DNS, port number, credential that you created previously.
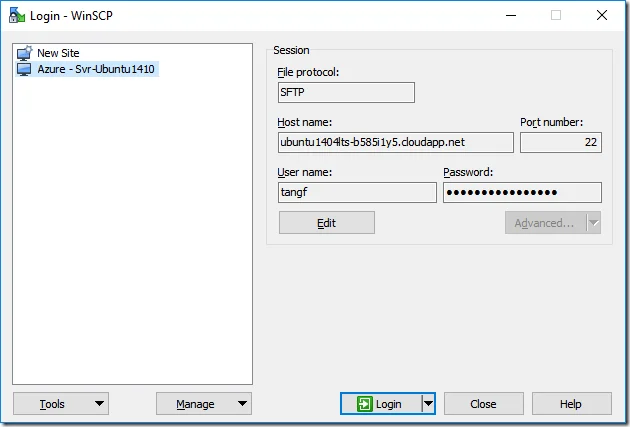
Click ‘Login’ button to login.
Click ‘Yes’ button when you get the warning:

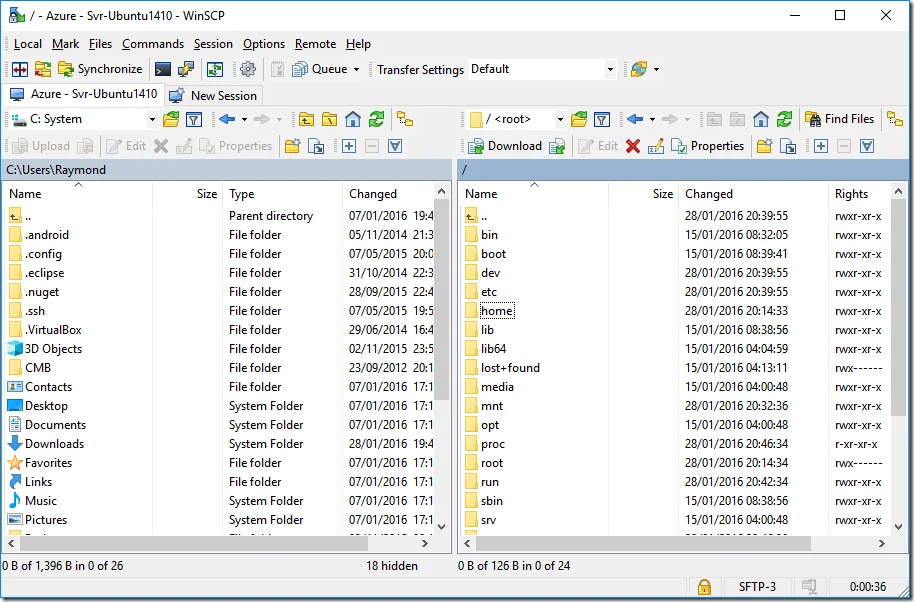
And then you are ready to explore the server using WinSCP.
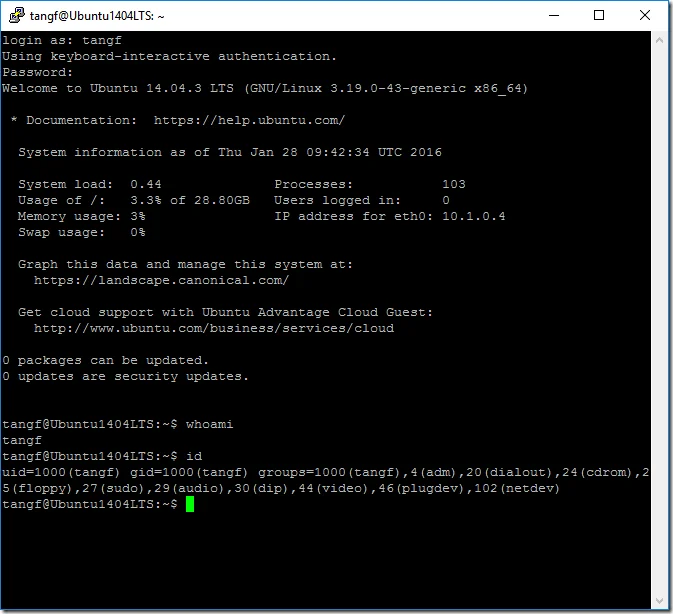
If you have already installed Putty client, click the Putty icon (the highlighted one in the following screenshot ) to start a Putty session.

The following is a screenshot of Putty.
Summary
It is very easy to setup servers in Azure. The services are highly stable, scalable and secured. Through the portal, you can easily setup all different cloud services, including servers (all major platforms), database servers (MySQL, Oracle, SQL Server and so forth), Hadoop clusters, mobile apps, IoT hub, app services, application servers and so on.
Have fun with Azure!