Infosphere DataStage is adopted as ETL (Extract, Transform, Load) tool in many Teradata based data warehousing projects. With the Teradata ODBC and .NET data providers, you can also use the BI tools from Microsoft, i.e. SSIS.
In my previous post, I demonstrated how to install Teradata Toolkit & Utilities in Windows. Once we installed the ODBC driver and Teradata .NET data provider, you can use Teradata as data source or target in any SSIS package. In this post, I will create a SSIS project to load data from Teradata into a CSV file. It will be the same to load data into Teradata from other sources since one data source can also act as target/destination.
Prerequisites
Teradata ODBC Driver or Teradata .NET Data Provider
If you have not installed any of them, please install following the link below:
Connect to Teradata Virtual Machine Guest from Windows Host
SSIS (SQL Server Integration Service)
You can install Data Tools for Visual Studio to create ETL projects. I am using Microsoft SQL Server Data Tools – Business Intelligence for Visual Studio 2013 (https://www.microsoft.com/en-au/download/details.aspx?id=42313).
Create the ETL Project
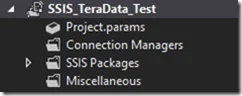
Open Visual Studio and create a SSIS project named ‘SSIS_TeraData_Test’.
The project will looks like the following screenshot:
Create Connection Manager to Teradata
Right-click the folder Connection Managers; in the context menu, click ‘New Connection Manager’ to open the wizard.
You can select ODBC type but in my sample, I will choose ADO.NET as the connection manager type.
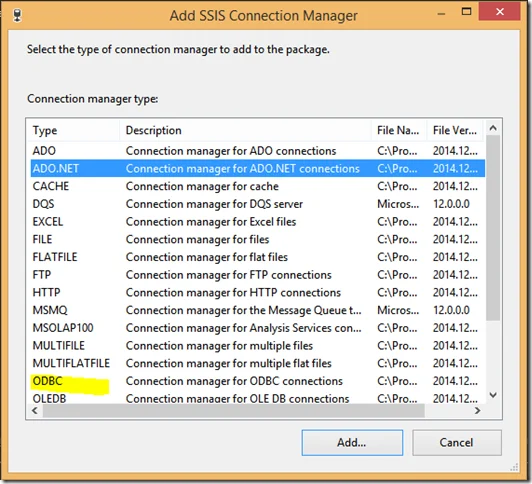
Click ‘Add..’'.’ button.
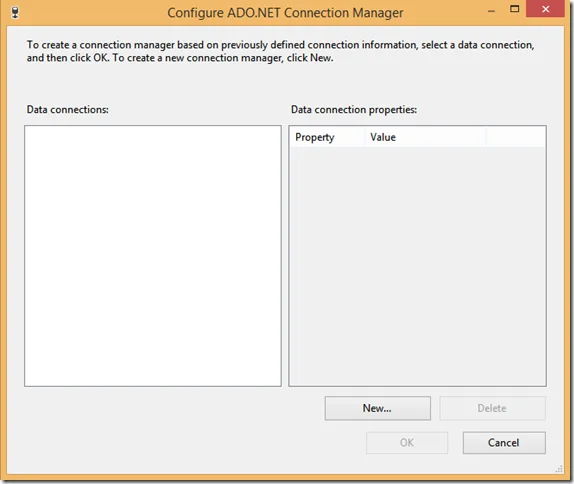
Click the ‘New…’ button to add a new connection manager.
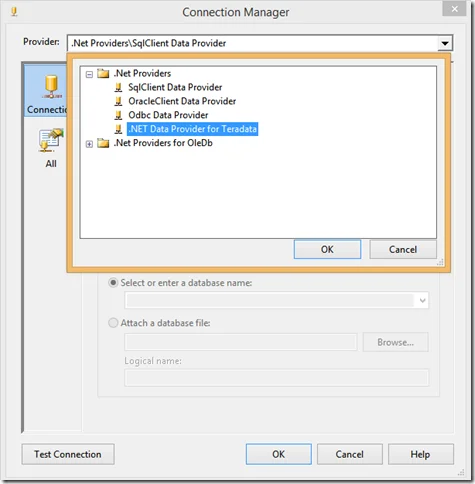
Select ‘.NET Data Provider for Teradata’ as the Provider.
Specify the following connection properties:
- Server name: 192.168.121.168 (Teradata instance address)
- User: dbc
- Password: dbc
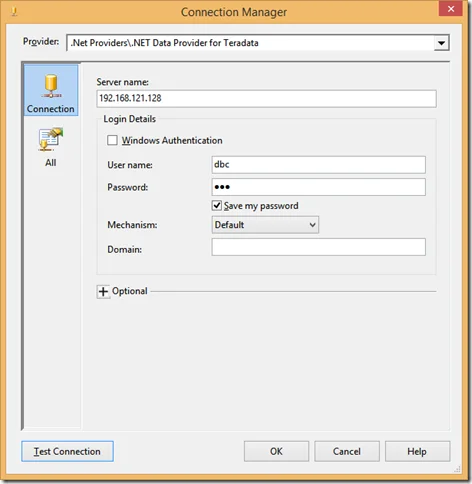
Click the Test Connection button to ensure it can be successfully connected.

In the All tab, you can specify more connection properties. I will just leave them as default.
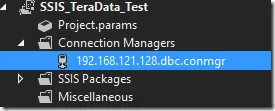
Click the ‘OK’ button to finish. You can find the connection manager in Connection Managers folder. It can be used by all the packages in the project.
Modify the Package
Open the package ‘Package.dtsx’ under SSIS Packages folder.
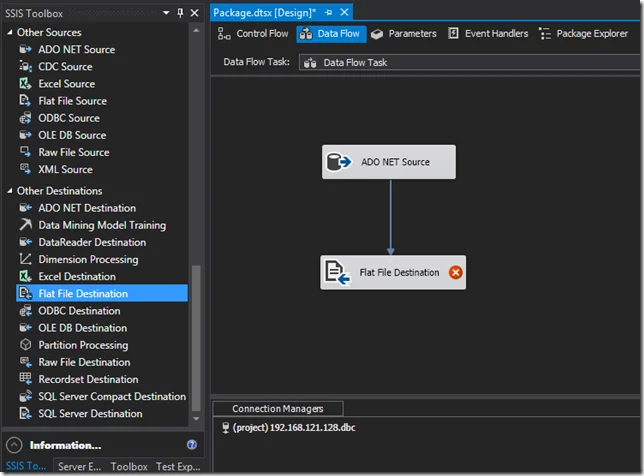
Drag the Data Flow Task from SSIS Toolbox window into the package design area.
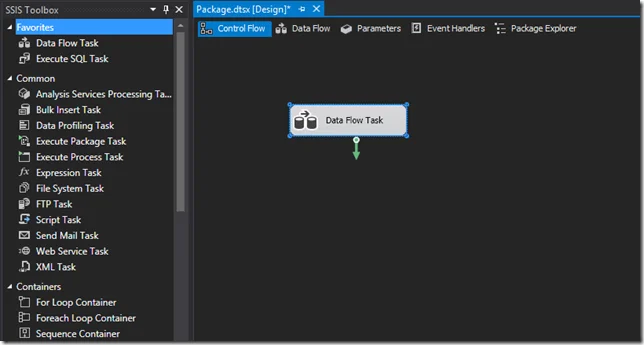
Double click the data flow task and you can then design the steps in the flow.
In the Data Flow design area, drag the ADO NET Source into the workspace.
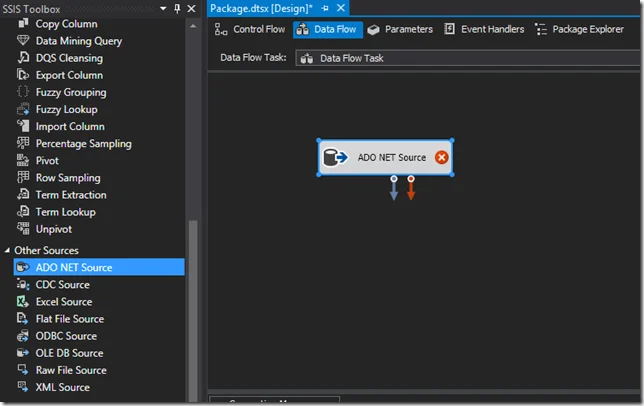
In the ADO Source Editor dialog, specify these properties:
- Connect manager: the one created previously
- Data access mode: SQL command
- SQL command test:
SELECT    Emp.EmployeeID,
    Emp.EmployeeName,
    Dept.DepartmentName
    FROM TD_MS_SAMPLE_DB.Employee Emp
    INNER JOIN TD_MS_SAMPLE_DB.Department Dept
    ON Dept.DepartmentID = Emp.DepartmentID
    ORDER BY Emp.EmployeeID;
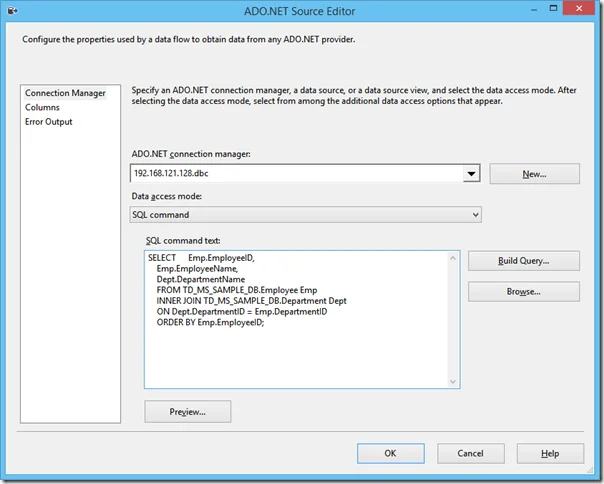
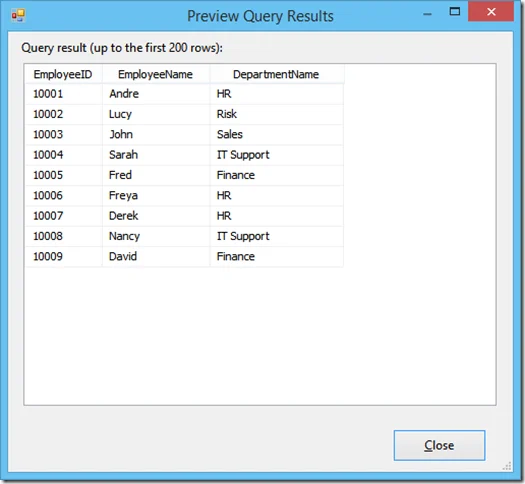
You can click Preview button to preview the data.
Back to the Editor, you can change the column names in Output Column in the Columns tab.
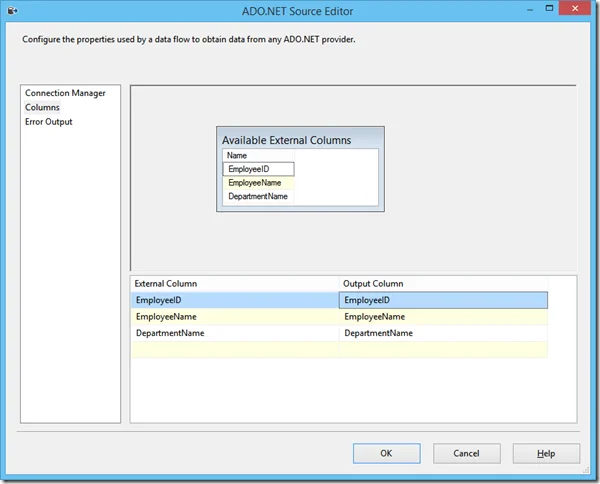
Click ‘OK’ to finish.
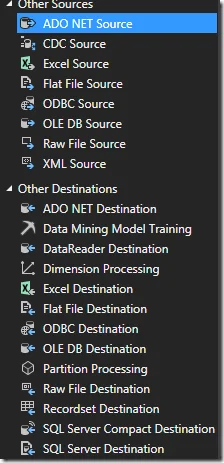
Drag Flat File Destination from the Other Destinations into the working area and connect it to ADO NET Source’s output link.
Double click the Flat File Destination to edit the properties.
In the Flat File Destination Editor, click New button to create another connection manager.
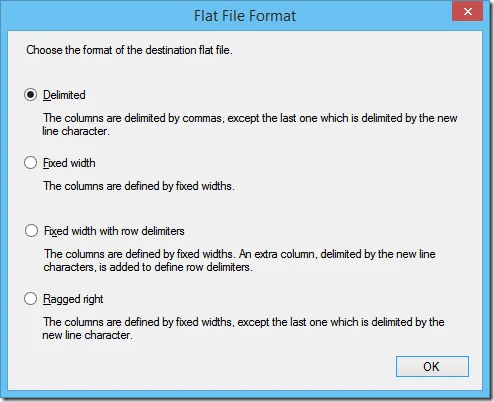
Select the Flat File Format as Delimited and then click OK to continue.
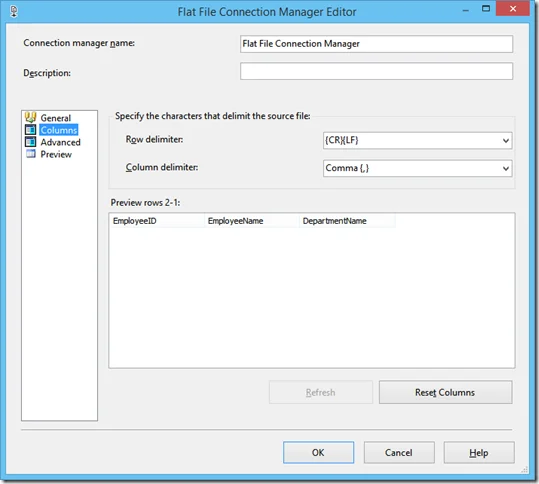
In the Flat File Connection Manager Editor, input the values as shown in the screenshot.
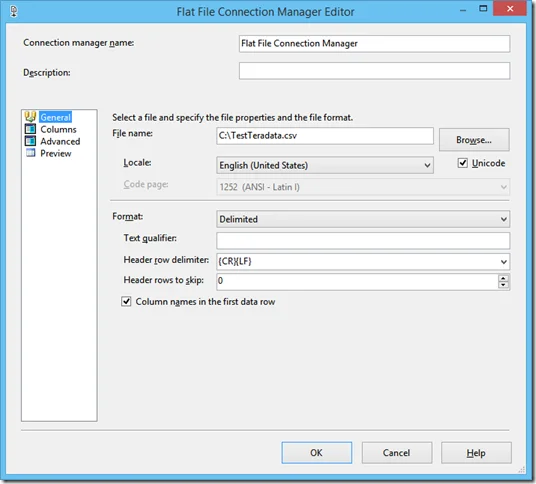
Click OK button to save this connection manager.
Back to the Flat File Destination Editor, click Mappings tab to map the columns.
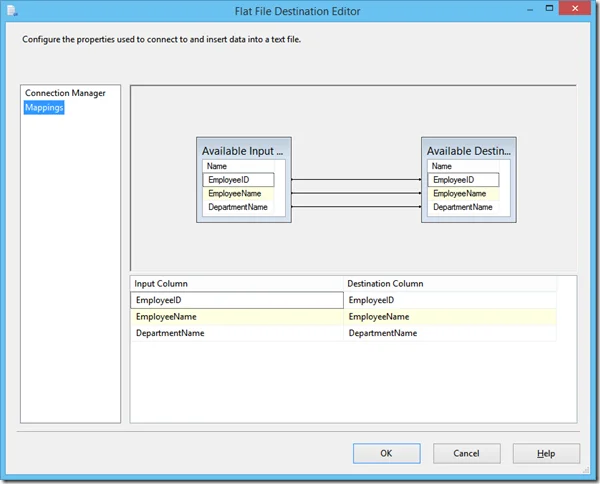
Click OK button to save these configurations.
Until now, we have created the package to load employee data into a CSV file.
Run the Package
Right-click the package name in the Solution Explorer, and click Run Package to run the process.
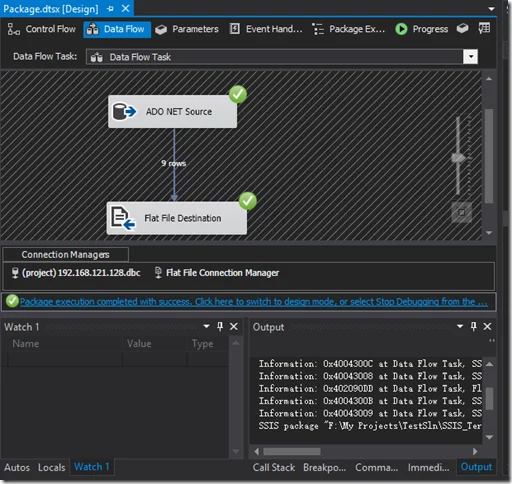
From the above screenshot, we can know this data flow task was executed successfully and there were 9 rows inserted into the target file.
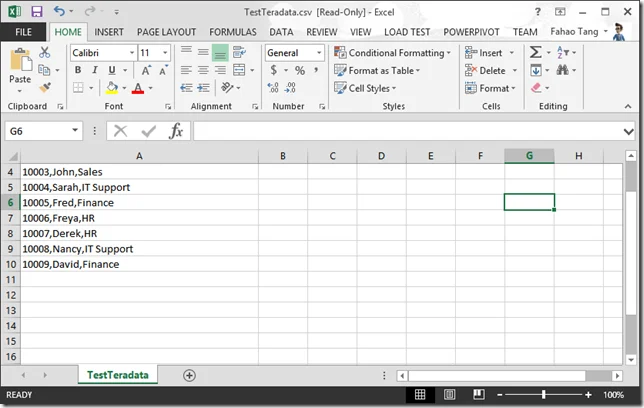
Navigate to C drive, you can find the created file TestTeradata.csv. Open the file, you can find all the employees were extracted to the file.
SSIS Data Flow Tasks
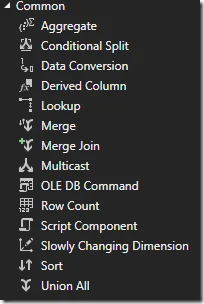
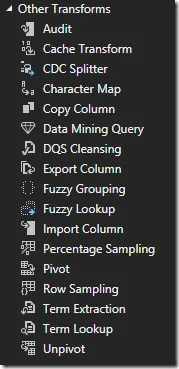
With SSIS Data Flow Task, you can do many transformations as you would do in any other ETL tools.
The followings are the available functions and all the data source/target types it supports.
I am not covering SSIS details in this post as it requires hundreds of pages to illustrate. If you are interested, you can always visit Microsoft official site for all the details you need: