In my previous posts about Querying Teradata and SQL Server, I logged into the virtual machine graphic interface to manage the database. However, I constantly found it is resource intensive as there is only 4GB memory in my laptop. Instead, I will use text mode to start the virtual machine and connect through SQL Assistant in Windows master machine.
Prerequisites
Install Virtual Machine
Install Teradata Express 15.0.0.8 by Using VMware Player 6.0 in Windows
Follow the above post to setup your Teradata virtual machine if you have not done that.
Install Windows Client Tools and Utilities
Download and install ‘Teradata Tools and Utilities - Windows Installation Package’:
This includes SQL Assistant, load & unload utilities, database management, administration and drivers, and much more to be used to connect to your Teradata Express database instance.

Change the startup mode
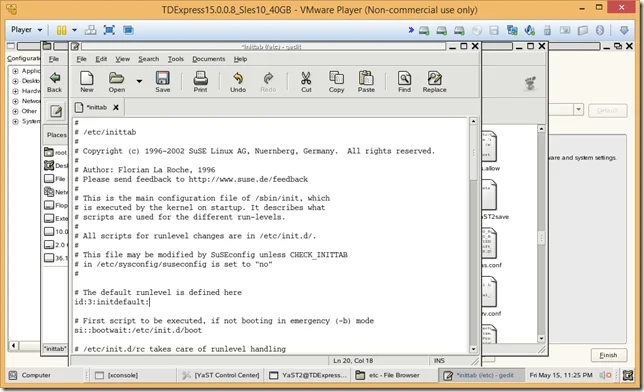
If you want to startup SUSE Linux without GUI, find file ‘/etc/inittab’ and you will see this line id:5:initdefault
Change the value 5 to 3 ; after you change it, the line will look like this id:3:initdefault:
When you reboot, the default is the text startup mode.
Configure the VM Settings
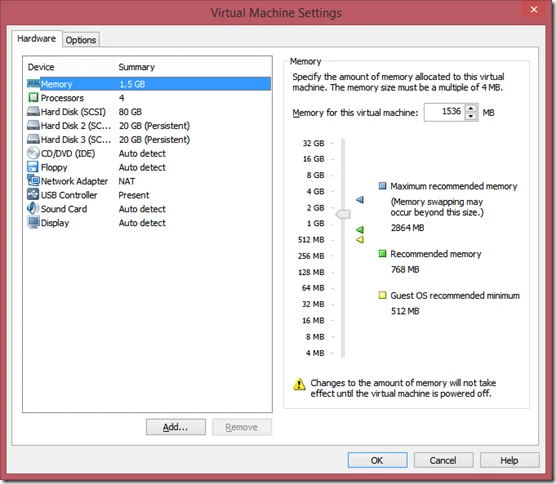
You can now only allocate the smaller size memory to your virtual machine. In my case, I allocated 1536 MB.
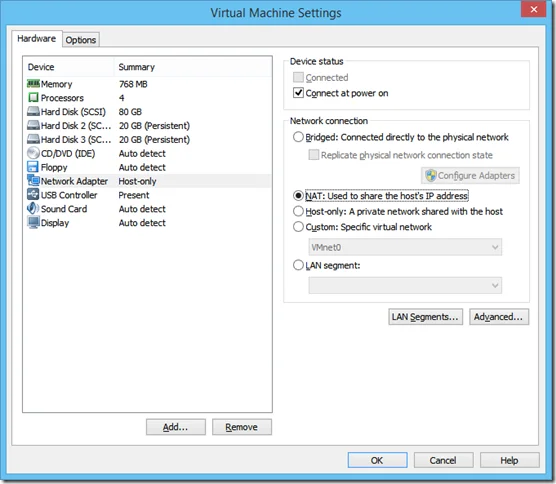
For network connections, you can choose NAT.
After configuration, start the VM.
Input root Password
Input the default password ‘root’ if you have not changed it.
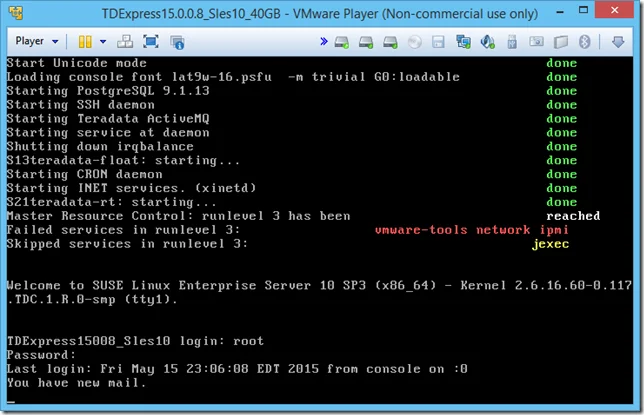
Check IP Addresses
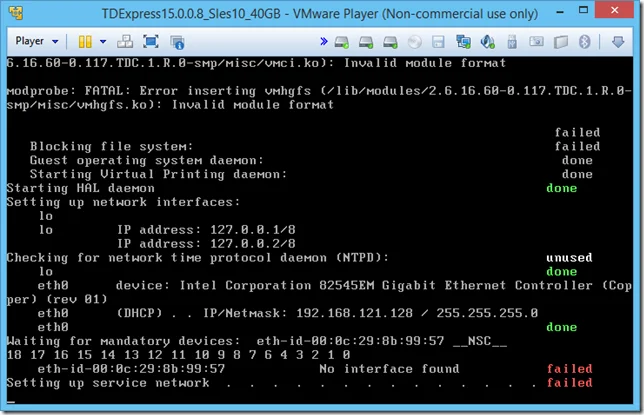
When starting with level 3, you should be able to see the IP address of the VM:
Alternatively, use IP ADDR command to check you IP:
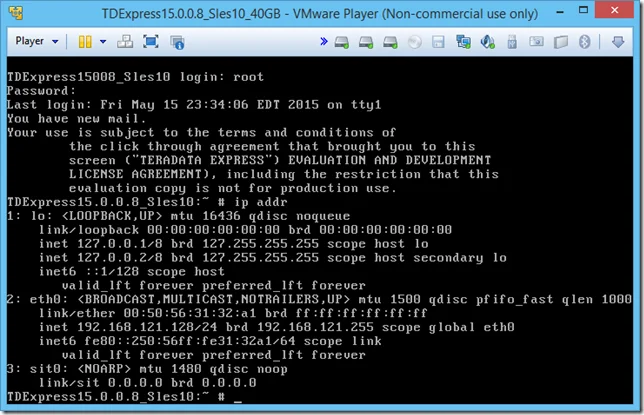
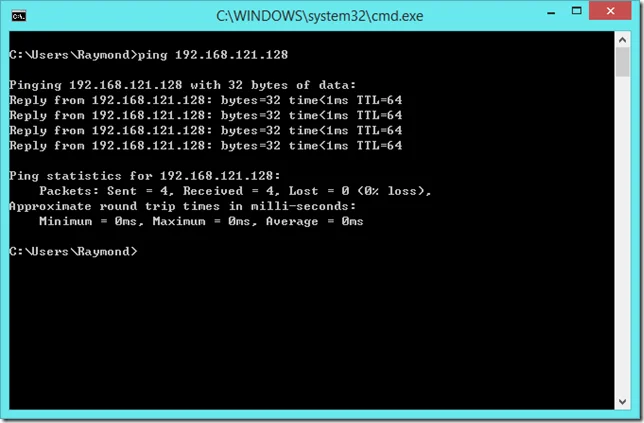
In my case, the IP assigned by the virtual DHCP is 192.168.121.128.
Make sure you can ping the VM successfully in the host.
Check Teradata status
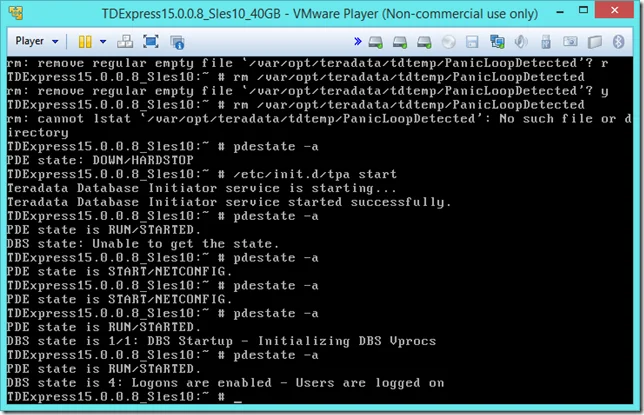
Use command ‘pdestate –a’ to check the status of Teradata services. Ensure the status is running (PDE state is RUN/STARTED).
Running the command multiple times, you can notice the status change:
- PDE state is START/STARTTPA
- PDE state is START/STARTED
- DBS state is 1/1 DBS Startup – Initializing DBS Vprocs
- DBS state is 1/1 DBS Startup – Initializing DBS Configuration
- …
- DBS state is 1/5 Logons are enabled – The system is quiescent
- ..
- DBS state is is 4 Logons are enabled – Users are logged on
Sometimes I found the service cannot be started because of insufficient memory allocated. If that is the case, allocate more memory to your VM.
Connect in Windows host
Open Teradata SQL Assistant in Windows host machine.
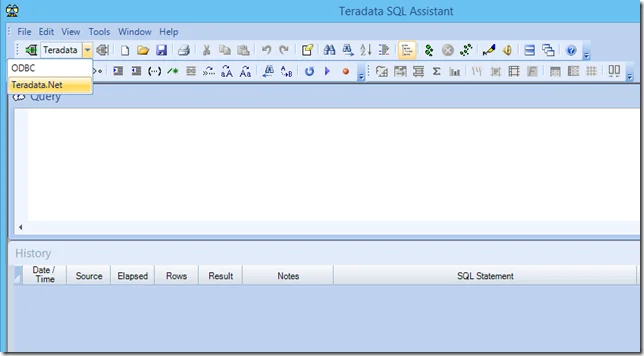
Choose Teradata.Net as the driver.
Input the following parameters:
Server: 192.168.121.128 (IP address of the virtual machine)
User: dbc
Password: dbc
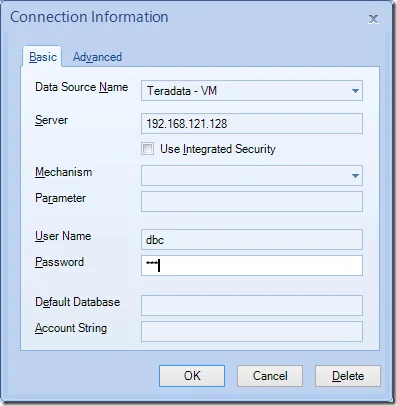
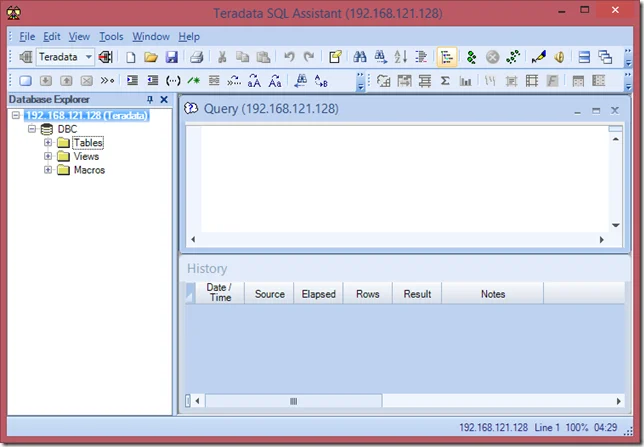
Click OK to connect. Once it is done, you can view the objects in DBC database.
Error about login
If you encountered the following error, it is probably because the service is not started yet.
---------------------------Teradata SQL Assistant--------------------------- [115025] Could not resolve Data Source=192.168.121.128 to an available node after 1 attempts.
[10061] System.Net.Sockets.SocketException (0x80004005): No connection could be made because the target machine actively refused it 192.168.121.128:1025
at System.Net.Sockets.Socket.EndConnect(IAsyncResult asyncResult)
at Teradata.Client.Provider.WpTcpTransport.WaitOnSockets(List`1 sockets, UtlStopwatchWrapper timer, Int32 timeout, Int32 lccTimeout, TdErrorCollection errors)---------------------------OK ---------------------------
Query the Database
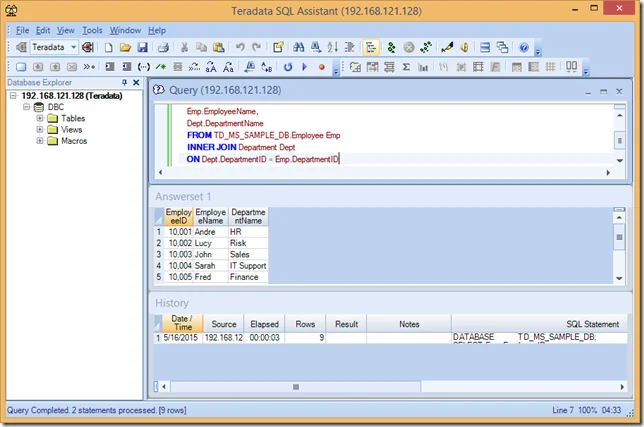
If you have been following my tutorial about Querying Teradata and SQL Server, you can now use SQL Assistant in the host system to query the data.
DATABASE    TD_MS_SAMPLE_DB;
SELECT    Emp.EmployeeID,
    Emp.EmployeeName,
    Dept.DepartmentName
    FROM TD_MS_SAMPLE_DB.Employee Emp
    INNER JOIN Department Dept
    ON Dept.DepartmentID = Emp.DepartmentID
    ORDER BY Emp.EmployeeID;
You will get the following result:
Start/Stop Service
If your VM accidently stopped, you can restart it using the following command.
/etc/init.d/tpa start
Read the official article for more details:
PDE state is DOWN/HARDSTOP
The PDE state in my VM stays at DOWN/HARDSTOP though I restarted the TPA service several times.
Look into the log and then I found out the reason.
/less /var/log/messages
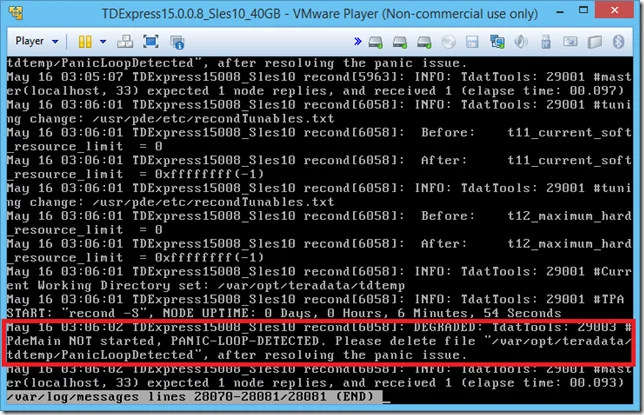
The culprit was found out:
PdeMain NOT started, PANIC-LOOP-DETECTED. Please delete file “/var/opt/teradata/tdtemp/PanicLoopDetected”, after resolving the panic issue.
I used the command ‘rm /var/opt/teradata/tdtemp/PanicLoopDetected’. The issue was then fixed.
Love GUI more?
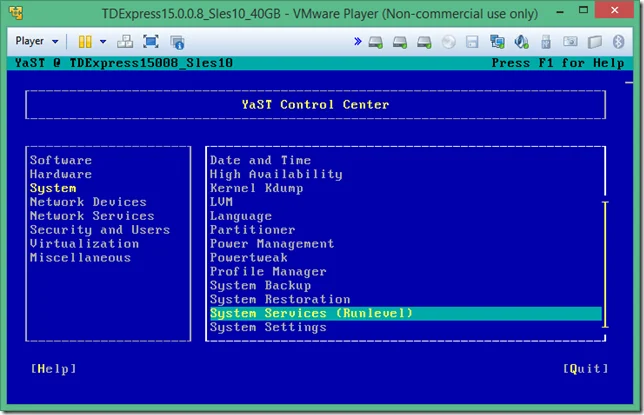
You can change back to GUI mode. Input YaST command.
Select ‘System Services (Runlevel)’
Change the default runlevel after booting back to 5.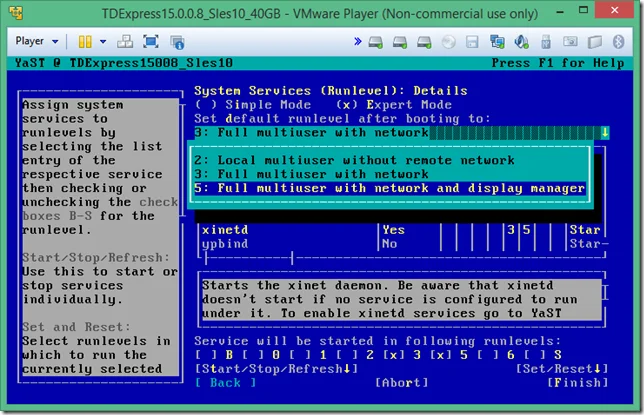
Definitely, you can also directly modify the file ‘/etc/inittab’ as we did previously.